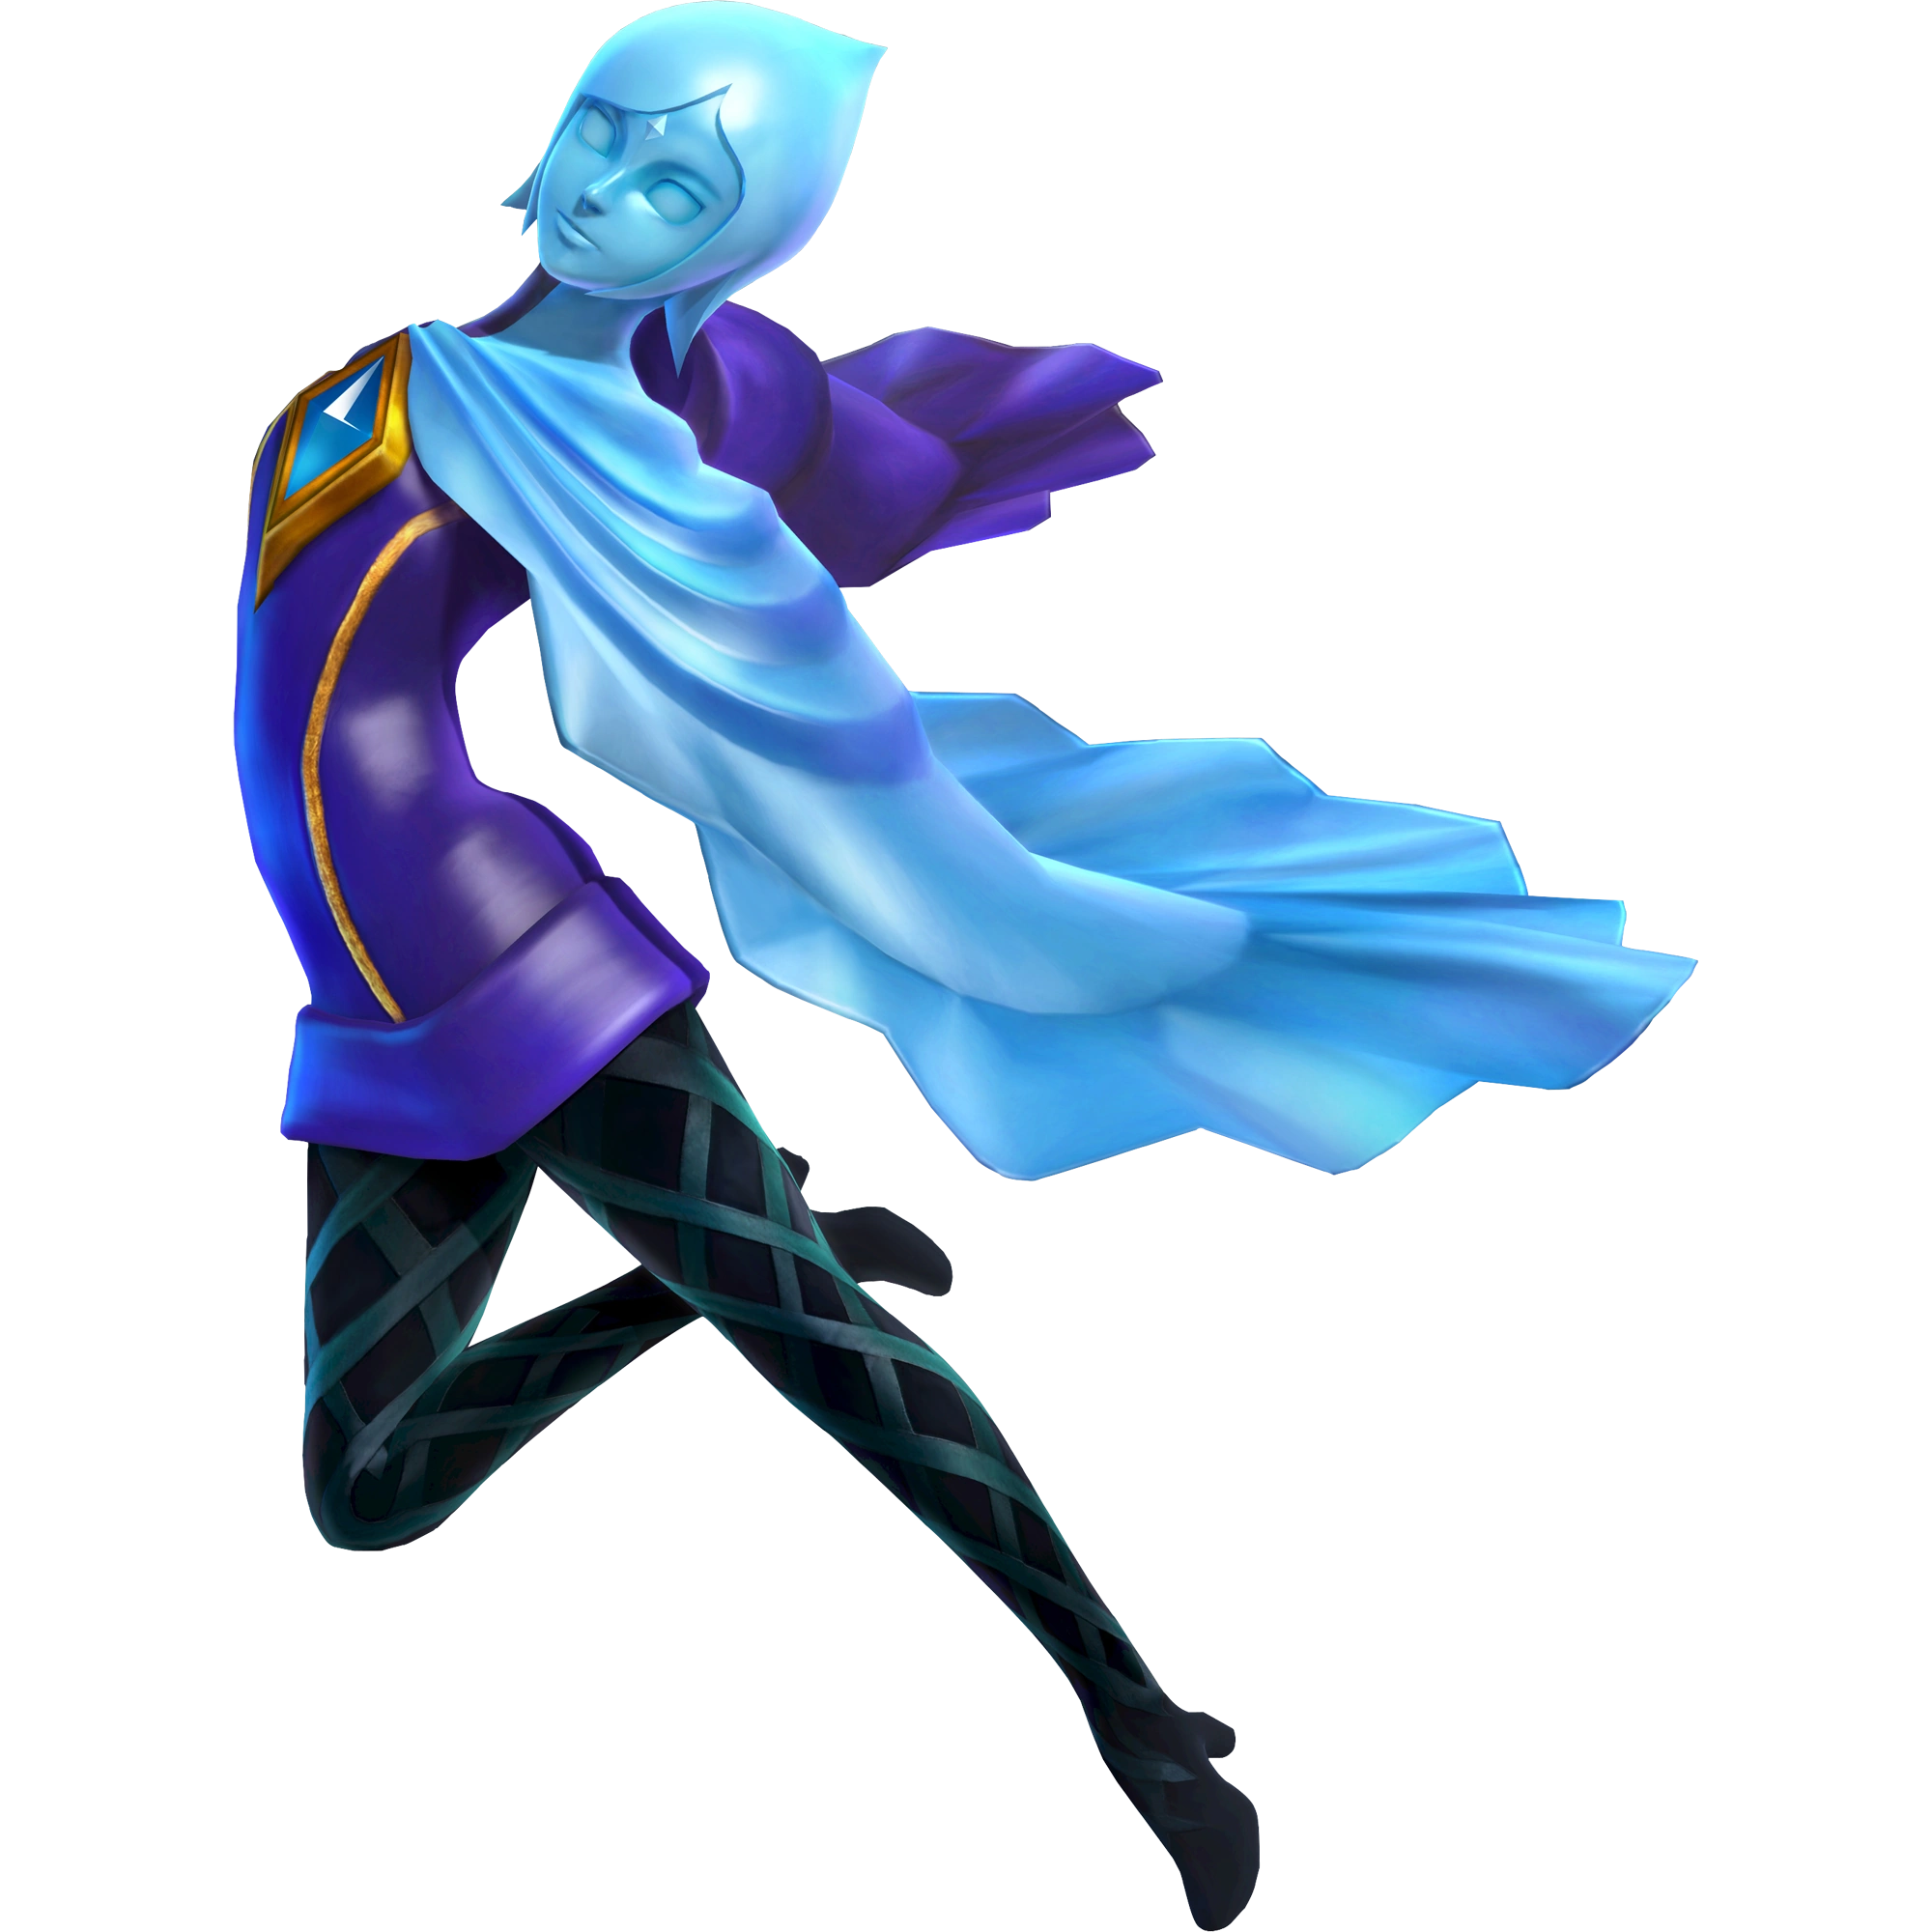
| Fi | |
 | |
| Era: | |
| Race: | Sword Spirit
|
| Title(s): | The Goddess Sword
|
| Weapon(s): | Goddess Blade
|
| Weakness: | Darkness
|
| Useful Weapon Skill: | VS Skyward
|
| Voice Actors: | Ayumi Fujimura
|
| First Appearance: | Hyrule Warriors |
| Genderless but associated with female pronouns in the game. | |
Fi (ファイ, Fai) is a playable character in Hyrule Warriors. She originated from Skyward Sword.
Role in Game
The ensuing chaos caused by Cia involved the Skyward Sword world, causing the sword spirit to wander through dimensions into this realm.
Character Information
Personality
She appears wise and concise, speaking to the wielder of the sword through statistics and robotic calculations. Fi has no sense of self or emotions.
Quotes
- "Your chance of defeating me is 0%."
- "I have noticed your strength growing to an impressive level. I shall praise you for your efforts."
- "Master, further progress can be made. The Enemy Base is now accessible."
- "My apologies. But I do not require rest."
- "I have fulfilled my duties. I will now rest."
- "Master, it appears that I'm far stronger than I once calculated."
- "Master, if I'm not mistaken, you are a true hero of Hyrule."
- "I will carry out my duty, even if it means my destruction."
- "My energy has run out. Master, I must retreat."
Gameplay
| Keys: | Y Normal Attack ▲ | X Charge Attack ▲ | A Special Technique ▲ | B Evade |
Any time Fi finds her self in the air, pressing Y will cause her to do a spin attack to damage enemies around her. Pressing X will have her surround her self in an aura while dive bombing into the ground, damaging enemies on the way down. Upon impacting the ground she will create a ripple of energy to damage enemies in the surrounding area.
- X: This is a buff. Fi turns into the Goddess Sword and boosts her attack output and infuses her attacks with the Light element.
- Y, X: Fi will turn into the Goddess Sword and performs a vertical upwards spinning slash to knock enemies into the air. She then transforms back and dives to the ground. Pressing Y after the spinning slash will allow her to do a roundhouse kick before diving back down.
- Y, Y, X: Fi will sing a tune, while a flower pattern appears beneath her. Enemies stand in it will get frozen, and she finishes by launching the enemies with light.
- Y, Y, Y, X: The Hylian crest appears in front of her like a shield, and Fi then flies forward fast and bulldozes enemies in her path.
- Y, Y, Y, Y, X: Fi flies upward in a spiraling fashion, gathering enemies in the air. She releases a burst of light at the peak and then dives downward to the ground, knocking back enemies.
- Y, Y, Y, Y, Y, X: Blue, green, and red flames gather around her, and she then transforms into the Goddess Sword and does several spinning slashes before transforming back.
- Y, Y, Y, Y, Y, Y, Y: Fi performs some ballet spins and acrobatic kicks.She then will leap foward, do a side-kick, and then finish with a little jump that damages enemies all around.
- A: Fi turns into a blade and then slashes surrounding enemies to gather them together, before finally planting herself into the ground, knocking away enemies.
- Focus Spirit + A: Fi chants a spell then summons a Triforce symbole on the ground. She then turns into sword form and strikes the symbol from the air.
- Focus Spirit Finisher: Fi dive-bombs into the ground, making an explosion, and floats down elegantly.
- Weak Point Smash: Fi forms a light sphere, slams nearby enemies into into it, and causes it to explode.
Fighting Style
Fi is an extremely agile combatant who can transform into the Goddess Sword to strike enemies. Her spinning kicks and smooth mobility are good for crowd control. One of Fi's attacks involves summoning three red, green, and blue colored flames to attack enemies, a reference to the Three Sacred Flames used to temper the Goddess Sword into the Master Sword. The delay following Fi's dodge is notably short and leaves her in an alternate "walking" stance that briefly maintains the momentum of the dodge, allowing one, with good timing, to string her dodges together to move almost as fast as (or possibly even faster than) running.
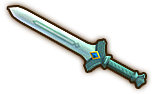
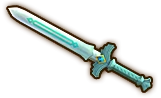
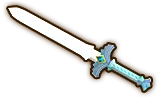
Weapons
| Weapon Information (Element: Light) | ||
|---|---|---|
| Description: A sword created by the goddess in the distant past. Use the Strong Attack button to temporarily imbue yourself with the power of light. | ||
| Goddess Sword | Skill Slots: 1~2 | |
|
Base Attack: 80 | 1★ Attack: 88 |
| 2★ Attack: 96 | 3★ Attack: 104 | |
| 4★ Attack: 112 | 5★ Attack: 120 | |
| Goddess Longsword | Skill Slots: 3~4 | |
|
Base Attack: 150 | 1★ Attack: 165 |
| 2★ Attack: 180 | 3★ Attack: 195 | |
| 4★ Attack: 210 | 5★ Attack: 225 | |
| True Goddess Blade | Skill Slots: 6~8 | |
|
Base Attack: 280 | 1★ Attack: 308 |
| 2★ Attack: 336 | 3★ Attack: 364 | |
| 4★ Attack: 392 | 5★ Attack: 420 | |
| 8-Bit Silver Arrow (HW) | Skill Slots: 6~8 | |

|
Base Attack: 280 | 1★ Attack: 308 |
| 2★ Attack: 336 | 3★ Attack: 364 | |
| 4★ Attack: 392 | 5★ Attack: 420 | |
| True Goddess Blade + (Legends) | Skill Slots: 7~8 | |
|
|
Base Attack: 500 | 1★ Attack: 550 |
| 2★ Attack: 600 | 3★ Attack: 650 | |
| 4★ Attack: 700 | 5★ Attack: 750 | |
| Liquid Goddess Blade (Legends) | Skill Slots: 7~8 | |
|
|
Base Attack: 500 | 1★ Attack: 550 |
| 2★ Attack: 600 | 3★ Attack: 650 | |
| 4★ Attack: 700 | 5★ Attack: 750 | |
| Secondary Element: Water | ||
Badge Materials
- See also: Hyrule Warriors/Badges
| Badge | Materials | ||
|---|---|---|---|
| Kokiri Sword I | Monster Tooth (1x) | ||
| Kokiri Sword II | Moblin Flank (1x) | Monster Tooth (1x) | |
| Kokiri Sword III | Aeralfos Leather (1x) | Monster Tooth (1x) | |
| Kokiri Sword IV | Hylian Captain Gauntlet (1x) | Monster Tooth (1x) | |
| Stamina Fruit I | Moblin Flank (1x) | ||
| Stamina Fruit II | Ghirahim's Sash (1x) | The Imprisoned's Scales (1x) | Moblin Flank (3x) |
| Stamina Fruit III | Ghirahim's Cape (1x) | The Imprisoned's Scales (2x) | Moblin Spear (2x) |
| Digging Mitts I | Moblin Flank (3x) | ||
| Digging Mitts II | Ghirahim's Sash (1x) | The Imprisoned's Scales (1x) | Moblin Flank (3x) |
| Digging Mitts III | Ghirahim's Cape (1x) | The Imprisoned's Scales (2x) | Moblin Spear (2x) |
| Din's Fire I | Aeralfos Leather (1x) | Monster Tooth (1x) | |
| Din's Fire II | Hylian Captain Gauntlet (1x) | Monster Tooth (1x) | |
| Din's Fire III | Ghirahim's Cape (1x) | The Imprisoned's Scales (2x) | Moblin Spear (2x) |
| Hover Boots I | Moblin Flank (2x) | ||
| Hover Boots II | Ghirahim's Sash (1x) | The Imprisoned's Scales (1x) | Moblin Flank (3x) |
| Hover Boots III | Ghirahim's Cape (1x) | The Imprisoned's Scales (2x) | Moblin Spear (2x) |
| Fierce Deity's Mask I | Aeralfos Leather (1x) | Monster Tooth (1x) | |
| Fierce Deity's Mask II | Ghirahim's Cape (1x) | The Imprisoned's Scales (2x) | Moblin Spear (2x) |
| Badge | Materials | ||
|---|---|---|---|
| Empty Bottle I | Old Rag (1x) | ||
| Empty Bottle II | Hylian Captain Gauntlet (1x) | Old Rag (1x) | |
| Empty Bottle III | The Imprisoned's Pillar (1x) | Ghirahim's Sash (2x) | Moblin Spear (2x) |
| Hornet Larvae I | Moblin Flank (1x) | ||
| Hornet Larvae II | Ghirahim's Sash (1x) | The Imprisoned's Scales (1x) | Moblin Flank (3x) |
| Hornet Larvae III | The Imprisoned's Pillar (1x) | Ghirahim's Sash (2x) | Moblin Spear (2x) |
| Nayru's Love I | Moblin Flank (3x) | ||
| Nayru's Love II | Ghirahim's Sash (1x) | The Imprisoned's Scales (1x) | Moblin Flank (3x) |
| Nayru's Love III | The Imprisoned's Pillar (1x) | Ghirahim's Sash (2x) | Moblin Spear (2x) |
| Goron Tunic I | Moblin Flank (2x) | ||
| Goron Tunic II | Ghirahim's Sash (1x) | The Imprisoned's Scales (1x) | Moblin Flank (3x) |
| Goron Tunic III | The Imprisoned's Pillar (1x) | Ghirahim's Sash (2x) | Moblin Spear (2x) |
| Zora Tunic I | Moblin Flank (2x) | ||
| Zora Tunic II | Ghirahim's Sash (1x) | The Imprisoned's Scales (1x) | Moblin Flank (3x) |
| Zora Tunic III | The Imprisoned's Pillar (1x) | Ghirahim's Sash (2x) | Moblin Spear (2x) |
| Magic Armor I | Moblin Flank (2x) | ||
| Magic Armor II | Ghirahim's Sash (1x) | The Imprisoned's Scales (1x) | Moblin Flank (3x) |
| Magic Armor III | The Imprisoned's Pillar (1x) | Ghirahim's Sash (2x) | Moblin Spear (2x) |
| Sacred Shield I | Moblin Flank (2x) | ||
| Sacred Shield II | Ghirahim's Sash (1x) | The Imprisoned's Scales (1x) | Moblin Flank (3x) |
| Sacred Shield III | The Imprisoned's Pillar (1x) | Ghirahim's Sash (2x) | Moblin Spear (2x) |
| Mirror Shield I | Moblin Flank (2x) | ||
| Mirror Shield II | Ghirahim's Sash (1x) | The Imprisoned's Scales (1x) | Moblin Flank (3x) |
| Mirror Shield III | The Imprisoned's Pillar (1x) | Ghirahim's Sash (2x) | Moblin Spear (2x) |
| Badge | Materials | ||
|---|---|---|---|
| Farore's Wind I | Metal Plate (1x) | ||
| Farore's Wind II | Ghirahim's Sash (1x) | The Imprisoned's Scales (1x) | Moblin Flank (3x) |
| Farore's Wind III | Ghirahim's Cape (1x) | Ghirahim's Sash (2x) | Moblin Spear (2x) |
| Goron's Bracelet I | Moblin Flank (2x) | ||
| Goron's Bracelet II | Ghirahim's Cape (1x) | Ghirahim's Sash (2x) | Moblin Spear (2x) |
| Hawkeye I | Moblin Flank (2x) | ||
| Hawkeye II | Ghirahim's Cape (1x) | Ghirahim's Sash (2x) | Moblin Spear (2x) |
| Beetle I | Moblin Flank (2x) | ||
| Beetle II | Ghirahim's Cape (1x) | Ghirahim's Sash (2x) | Moblin Spear (2x) |
| Whip I | Moblin Flank (2x) | ||
| Whip II | Ghirahim's Cape (1x) | Ghirahim's Sash (2x) | Moblin Spear (2x) |
Gallery
")
")
")
.png "Fi Alternate Costume (HWL).png (1.31 MB)")
.png)
.png "Fi Alternate Costume 2 (HWL DLC).png (24 KB)")
.png "Fi Alternate Costume 3 (HWL DLC).png (23 KB)")
.png "Fi Alternate Costume 4 (HWL DLC).png (370 KB)")
プレイムービー (12 KB)")
External Links
| This Hyrule Warriors related article is a stub. You can help the wiki by expanding it. |
| Hyrule Warriors • Legends • Definitive Edition • Hyrule Warriors: Age of Calamity |
| Characters |
| Hyrule Warriors |
| Link • Impa • Sheik • Lana • Princess Zelda • Ganondorf • Darunia • Princess Ruto • Agitha • Midna • Zant • Fi • Ghirahim • Cia • Volga • Wizzro • Twili Midna • Young Link • Tingle • Ganon • Cucco |
| Hyrule Warriors Legends |
| Linkle • Skull Kid • Toon Link • Tetra • King Daphnes • Medli • Marin • Toon Zelda • Ravio • Yuga |
| Hyrule Warriors Age of Calamity |
| Urbosa • Mipha • Daruk • Revali • Hestu • Sidon • Yunobo • Teba • Riju • Maz Koshia • Master Kohga • King Rhoam • Great Fairies • Terrako |
| EX: Pulse of the Ancients |
| Battle-Tested Guardian |
| EX: Guardian of Remembrance |
| Sooga • Purah & Robbie |
| Bosses |
| King Dodongo • Gohma • Manhandla • Argorok • The Imprisoned • Ganon • Great Fairy Helmaroc King • Phantom Ganon • Astor |
| Locations |
| Hyrule Warriors |
| Hyrule Field • Eldin Caves • Faron Woods • Valley of Seers • Death Mountain • Lake Hylia • Twilight Field • Palace of Twilight • Skyloft • Sealed Grounds • Temple of the Sacred Sword • Temple of Souls • Gerudo Desert • Ganon's Tower |
| Hyrule Warriors Legends |
| Forsaken Fortress • Wind and Earth Temples |
| Hyrule Warriors Age of Calamity |
| Breach of Demise • Zora's Domain • Tabantha Frontier • Gerudo Town • Hyrule Outpost • Great Hyrule Forest • Cenel Peak • Akkala Citadel • Yiga Clan Hideout • Damel Forest • Hyrule Castle • Lanayru Wetlands • Hyrule Ridge • Fort Hateno • Great Plateau • Hyrule Castle Town |
| EX: Guardian of Remembrance |
| Goponga Village • Kakariko Village • Lanayru Road • Mount Daphnes |
| Features |
| Items • Adventure Mode • Unit Types • Potion Mixtures • Badges • Materials • Weapon Skills • My Fairy |