| Marin | |
 | |
| Era: | |
| Race: | |
| Title(s): | Songstress of Koholint Island (Tutorial Description)
Dreamer Girl (Enemy Intro) |
| Weapon(s): | Bell
|
| Weakness: | Lightning
|
| Useful Weapon Skill: | VS Sea
|
| Voice Actors: | Ruriko Aoki
|
| First Appearance: | Hyrule Warriors + Legends |
| Playable via DLC. | |
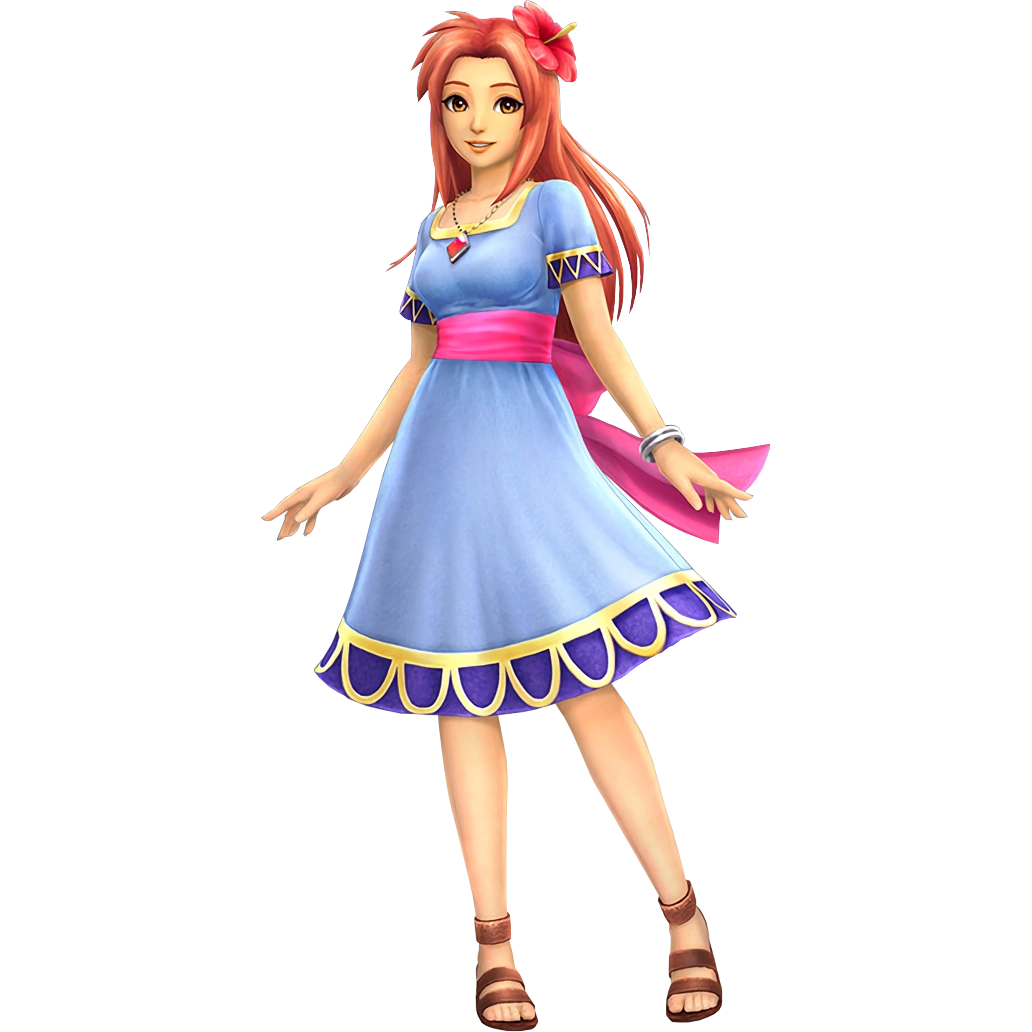
Marin (マリン, Marin) is a playable character in Hyrule Warriors Legends. She originated from Link's Awakening.
Role in Game[]
Marin currently does not have a story significant role in Hyrule Warriors due to being a DLC character that was added to the game post launch.
Marin has unlockable weapons and appears as both an ally and as an enemy in the Koholint Island map. She plays a minor story role in the Link's Awakening Puzzle Rewards Map.
Character Information[]
Personality[]
Marin is a kind loving soul who enjoys singing and playing music. She has a talent for teaching others how to play instruments, as she had taught the Link of her timeline to play her favorite childhood song Ballad of The Wind Fish. She dreams to one day fly high like a seagull in order to travel the world and share her love for music with anyone willing to listen.
Quotes[]
See also: Marin/Quotes
Gameplay[]
| Keys: | Y Normal Attack ▲ | X Charge Attack ▲ | A Special Technique ▲ | B Evade |
Marin has a special Water Meter that fills up while attacking enemies. As it does, her bell will gain a soft pink glow. Depending on how full the meter is, it may effect how her C1 performs.
- X: Swings down bell at an angle, sending bubbles of water forward that will pop and damage enemies. If the Water Meter is empty, or under 1/3rd full, it will only make one bubble. If its 2/3rds or more it will be three bubbles. If the meter is completely full she will shoot out 5 bubbles arching in a semi circle in front of her.
- Y, X: Swings bell straight up, knocking enemies into the air.
- Y, Y, X: Performs of series of hops, creating circling sound waves along the ground up to three times, one for each hop.
- Y, Y, Y, X: Performs a series of spins, while moving in a circular motion, similar to Toon Links Special Attack but on a smaller scale.
- Y, Y, Y, Y, X: Jumps up and slams bell down into the ground, creating a huge explosion of water that sends enemies flying in all directions.
- Y, Y, Y, Y, Y, X: rings bell over head, enemies caught in sound waves being stunned to keep from damaging her and interrupting. Summons the wind fish to fly forward, performing a body slam and tail wip to send all enemies in front of her flying.
- Y, Y, Y, Y, Y, Y: Performs a series of swings that send out exploding bubbles of water directly in front of her. the final end of the combo has performing a series of spins along the ground, ringing the bell over head, and then finishing of the attack string by sending out 3 bubbles of water that create cracking pops to send enemies flying.
- A: Rings her bell to summon the wind Fish, who performs a massive belly flop onto enemies in front of her.
- Focus Spirit + A: Creates a magic circle while singing. Creating a small explosion of water and musical energy.
- Focus Spirit Finisher: flings up her bell, tossing out an orb of water, which creates a massive explosion upon striking the ground in front of her.
- Weak Point Smash: Swings her bell from left to right, send out waves of water at enemies, before performing a final rising strike up the middle to send enemies flying.
Weapons[]
| Weapon Information (Element: Water) | ||
|---|---|---|
| Description: A bell used to awaken the Wind Fish. When rung, the clapper inside unleashes powerful attacks. A Strong Attack will use its stored power, dealing damage equal to the amount used. | ||
| Sea Lily Bell | Skill Slots: 1~2 | |
|
Base Attack: 80 | 1★ Attack: 88 |
| 2★ Attack: 96 | 3★ Attack: 104 | |
| 4★ Attack: 112 | 5★ Attack: 120 | |
| Wavelet Bell | Skill Slots: 3~4 | |
|
Base Attack: 150 | 1★ Attack: 165 |
| 2★ Attack: 180 | 3★ Attack: 195 | |
| 4★ Attack: 210 | 5★ Attack: 225 | |
| Awakening Bell | Skill Slots: 6~8 | |

|
Base Attack: 280 | 1★ Attack: 308 |
| 2★ Attack: 336 | 3★ Attack: 364 | |
| 4★ Attack: 392 | 5★ Attack: 420 | |
| Awakening Bell + (Legends) | Skill Slots: 7~8 | |
|
|
Base Attack: 500 | 1★ Attack: 550 |
| 2★ Attack: 600 | 3★ Attack: 650 | |
| 4★ Attack: 700 | 5★ Attack: 750 | |
| Awakening Sunbell (Definite Edition) | Skill Slots: 7~8 | |
|
|
Base Attack: 500 | 1★ Attack: 550 |
| 2★ Attack: 600 | 3★ Attack: 650 | |
| 4★ Attack: 700 | 5★ Attack: 750 | |
| Secondary Element: Light | ||
Badge Materials[]
- See also: Hyrule Warriors/Badges
| Badge | Materials | ||
|---|---|---|---|
| Kokiri Sword I | Metal Plate (1x) | ||
| Kokiri Sword II | Stalmaster Wrist Bone (1x) | Metal Plate (1x) | |
| Kokiri Sword III | Gibdo Bandage (1x) | Metal Plate (1x) | |
| Kokiri Sword IV | Shield-Moblin Helmet (1x) | Metal Plate (1x) | |
| Stamina Fruit I | Big Poe Necklace (1x) | ||
| Stamina Fruit II | Link’s Boots (1x) | King Dodongo’s Claws (1x) | Big Poe Necklace (3x) |
| Stamina Fruit III | Link’s Scarf (1x) | King Dodongo’s Claws (2x) | Big Poe’s Lantern (2x) |
| Digging Mitts I | Big Poe Necklace (3x) | ||
| Digging Mitts II | Link’s Boots (1x) | King Dodongo’s Claws (1x) | Big Poe Necklace (3x) |
| Digging Mitts III | Link’s Scarf (1x) | King Dodongo’s Claws (2x) | Big Poe’s Lantern (2x) |
| Din's Fire I | Gibdo Bandage (1x) | Metal Plate (1x) | |
| Din's Fire II | Shield Moblin Helmet (1x) | Metal Plate (1x) | |
| Din's Fire III | ??? | Link's Boots (2x) | Big Poe's Lantern (2x) |
| Hover Boots I | Big Poe Necklace (2x) | ||
| Hover Boots II | Link’s Boots (1x) | King Dodongo’s Claws (1x) | Big Poe Necklace (3x) |
| Hover Boots III | Link’s Scarf (1x) | King Dodongo’s Claws (2x) | Big Poe’s Lantern (2x) |
| Fierce Deity's Mask I | Stalmaster Wrist Bone (1x) | Metal Plate (1x) | |
| Fierce Deity's Mask II | Link’s Scarf (1x) | King Dodongo’s Claws (2x) | Big Poe’s Lantern (2x) |
| Badge | Materials | ||
|---|---|---|---|
| Empty Bottle I | Old Rag (1x) | ||
| Empty Bottle II | Stalmaster Wrist Bone (1x) | Old Rag (1x) | |
| Empty Bottle III | ??? | Link's Boots (2x) | Big Poe's Lantern (2x) |
| Hornet Larvae I | Big Poe Necklace (1x) | ||
| Hornet Larvae II | Link’s Boots (1x) | King Dodongo’s Claws (1x) | Big Poe Necklace (3x) |
| Hornet Larvae III | ??? | Link's Boots (2x) | Big Poe's Lantern (2x) |
| Nayru's Love I | Big Poe Necklace (3x) | ||
| Nayru's Love II | Link’s Boots (1x) | King Dodongo’s Claws (1x) | Big Poe Necklace (3x) |
| Nayru's Love III | ??? | Link's Boots (2x) | Big Poe's Lantern (2x) |
| Goron Tunic I | Big Poe Necklace (2x) | ||
| Goron Tunic II | Link’s Boots (1x) | King Dodongo’s Claws (1x) | Big Poe Necklace (3x) |
| Goron Tunic III | ??? | Link's Boots (2x) | Big Poe's Lantern (2x) |
| Zora Tunic I | Big Poe Necklace (2x) | ||
| Zora Tunic II | Link’s Boots (1x) | King Dodongo’s Claws (1x) | Big Poe Necklace (3x) |
| Zora Tunic III | ??? | Link's Boots (2x) | Big Poe's Lantern (2x) |
| Magic Armor I | Big Poe Necklace (2x) | ||
| Magic Armor II | Link’s Boots (1x) | King Dodongo’s Claws (1x) | Big Poe Necklace (3x) |
| Magic Armor III | ??? | Link's Boots (2x) | Big Poe's Lantern (2x) |
| Sacred Shield I | Big Poe Necklace (2x) | ||
| Sacred Shield II | Link’s Boots (1x) | King Dodongo’s Claws (1x) | Big Poe Necklace (3x) |
| Sacred Shield III | ??? | Link's Boots (2x) | Big Poe's Lantern (2x) |
| Mirror Shield I | Big Poe Necklace (2x) | ||
| Mirror Shield II | Link’s Boots (1x) | King Dodongo’s Claws (1x) | Big Poe Necklace (3x) |
| Mirror Shield III | ??? | Link's Boots (2x) | Big Poe's Lantern (2x) |
| Badge | Materials | ||
|---|---|---|---|
| Farore's Wind I | Monster Tooth (1x) | ||
| Farore's Wind II | Link’s Boots (1x) | King Dodongo’s Claws (1x) | Big Poe Necklace (3x) |
| Farore's Wind III | ??? | Link's Boots (2x) | Big Poe's Lantern (2x) |
| Goron's Bracelet I | Big Poe Necklace (2x) | ||
| Goron's Bracelet II | Link's Scarf (1x) | Link's Boots (2x) | Big Poe's Lantern (2x) |
| Hawkeye I | Big Poe Necklace (2x) | ||
| Hawkeye II | Link's Scarf (1x) | Link's Boots (2x) | Big Poe's Lantern (2x) |
| Beetle I | Big Poe Necklace (2x) | ||
| Beetle II | Link's Scarf (1x) | Link's Boots (2x) | Big Poe's Lantern (2x) |
| Whip I | Big Poe Necklace (2x) | ||
| Whip II | Link's Scarf (1x) | Link's Boots (2x) | Big Poe's Lantern (2x) |
Gallery[]
.png "Marin Concept (HWL).png (396 KB)")
")
")
External Links[]
- Marin: Zelda Wiki page
- Wind Fish: Zelda Wiki page
| This Hyrule Warriors related article is a stub. You can help the wiki by expanding it. |
| Hyrule Warriors • Legends • Definitive Edition • Hyrule Warriors: Age of Calamity |
| Characters |
| Hyrule Warriors |
| Link • Impa • Sheik • Lana • Princess Zelda • Ganondorf • Darunia • Princess Ruto • Agitha • Midna • Zant • Fi • Ghirahim • Cia • Volga • Wizzro • Twili Midna • Young Link • Tingle • Ganon • Cucco |
| Hyrule Warriors Legends |
| Linkle • Skull Kid • Toon Link • Tetra • King Daphnes • Medli • Marin • Toon Zelda • Ravio • Yuga |
| Hyrule Warriors Age of Calamity |
| Urbosa • Mipha • Daruk • Revali • Hestu • Sidon • Yunobo • Teba • Riju • Maz Koshia • Master Kohga • King Rhoam • Great Fairies • Terrako |
| EX: Pulse of the Ancients |
| Battle-Tested Guardian |
| EX: Guardian of Remembrance |
| Sooga • Purah & Robbie |
| Bosses |
| King Dodongo • Gohma • Manhandla • Argorok • The Imprisoned • Ganon • Great Fairy Helmaroc King • Phantom Ganon • Astor |
| Locations |
| Hyrule Warriors |
| Hyrule Field • Eldin Caves • Faron Woods • Valley of Seers • Death Mountain • Lake Hylia • Twilight Field • Palace of Twilight • Skyloft • Sealed Grounds • Temple of the Sacred Sword • Temple of Souls • Gerudo Desert • Ganon's Tower |
| Hyrule Warriors Legends |
| Forsaken Fortress • Wind and Earth Temples |
| Hyrule Warriors Age of Calamity |
| Breach of Demise • Zora's Domain • Tabantha Frontier • Gerudo Town • Hyrule Outpost • Great Hyrule Forest • Cenel Peak • Akkala Citadel • Yiga Clan Hideout • Damel Forest • Hyrule Castle • Lanayru Wetlands • Hyrule Ridge • Fort Hateno • Great Plateau • Hyrule Castle Town |
| EX: Guardian of Remembrance |
| Goponga Village • Kakariko Village • Lanayru Road • Mount Daphnes |
| Features |
| Items • Adventure Mode • Unit Types • Potion Mixtures • Badges • Materials • Weapon Skills • My Fairy |