| Ghirahim | |
 | |
| Era: | |
| Race: | Demonic Sword Spirit
|
| Title(s): | Demon Lord
|
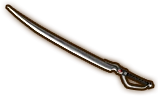
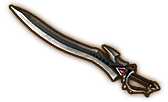
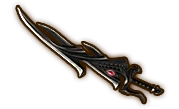
| Weapon(s): | Demon blade
|
| Weakness: | Light
|
| Useful Weapon Skill: | VS Skyward
|
| Voice Actors: | Anri Katsu
|
| First Appearance: | Hyrule Warriors |
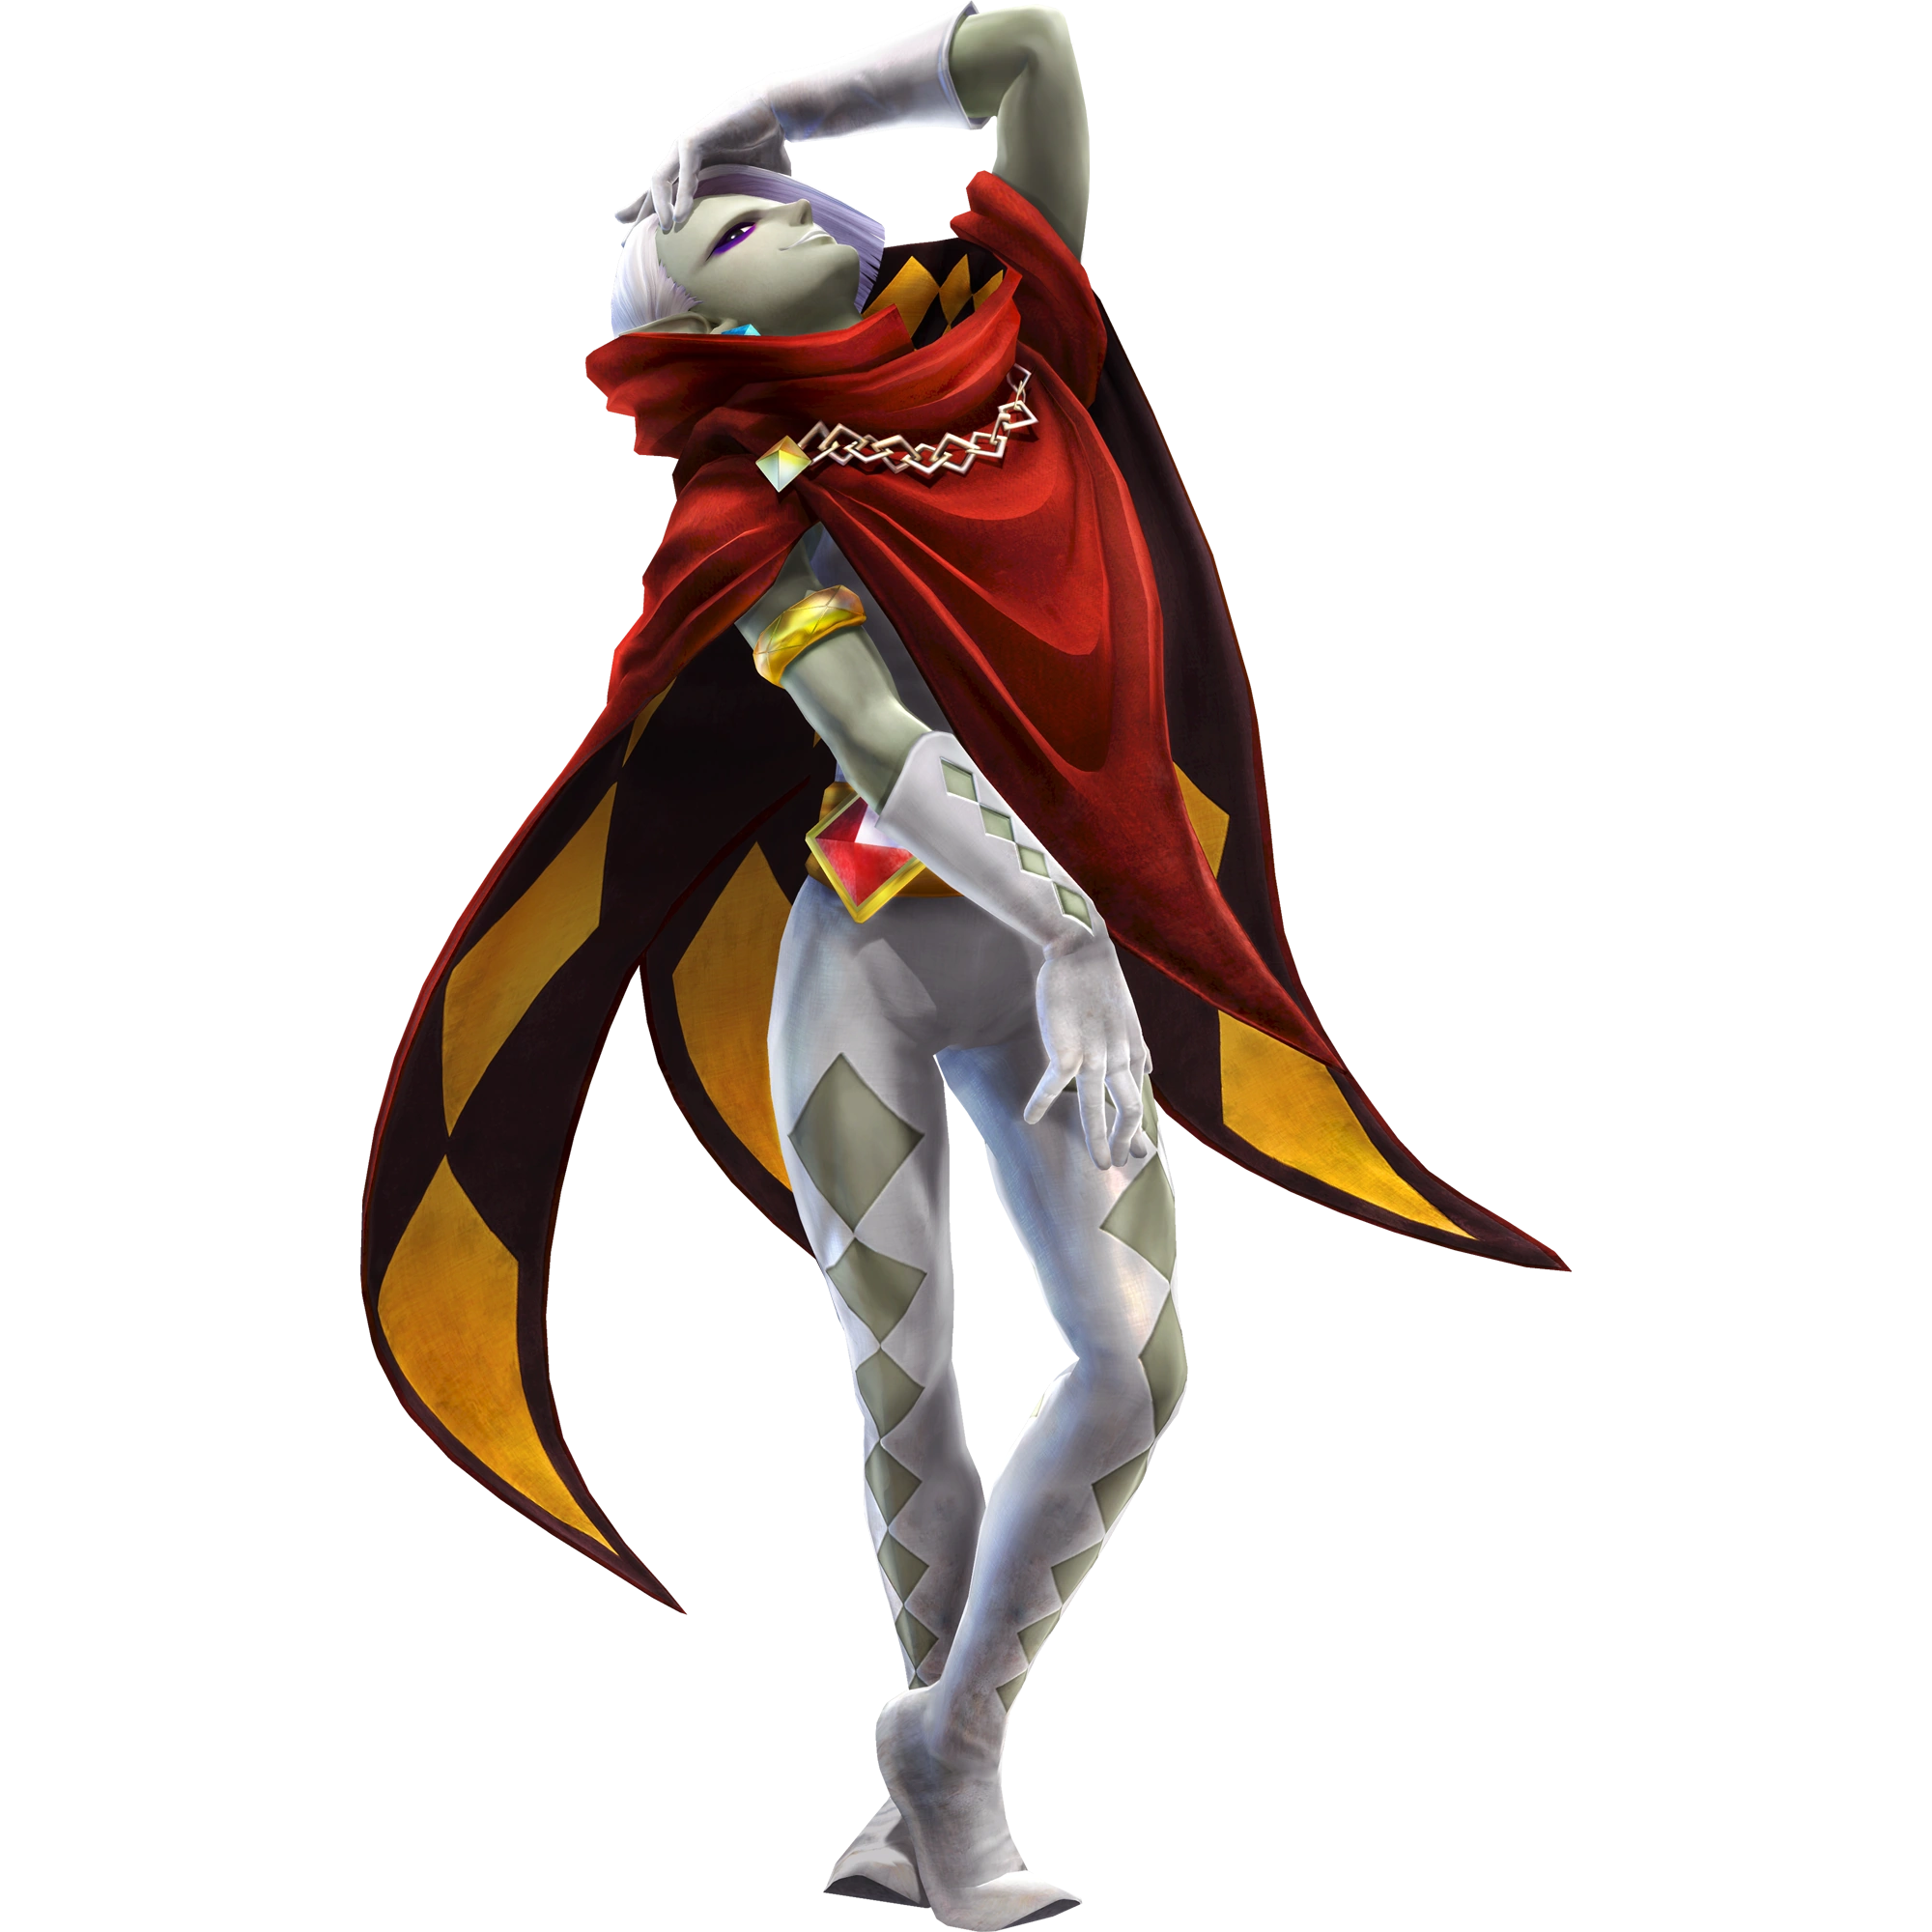
Ghirahim (ギラヒム, Girahimu) is a playable character as well as a villain in Hyrule Warriors. Players can unlock him in the game's Adventure Mode. He originally appeared as a villain in Skyward Sword.
Role in Game[]
Though sealed away in ancient times, he was revived with others evils into the current setting. Ghirahim schemes to validate his title once again.
Just before the events of the first mainline event, Ghirahim began using a Gate of Souls to summon monsters. Fi, sensing Ghirahim's discovery, rushed to the Sealed Grounds to put a stop to his ritual. Linkle comes upon the conflict and aids Fi in fighting Ghirahim. Although the two do not prevent the Imprisoned from being summoned, Ghirahim flies into a rage when the summoned Imprisoned are miniature. He attempts to gain total control of the Sealed Grounds, and continues summoning imperfect Imprisoned, only to have Fi and Linkle triumph over him. Before retreating, Ghirahim swears his next assault will succeed.
Presumably after this, Ghirahim did exactly that, assaulting Skyloft with a (correctly sized) Imprisoned. He fights against Cia after she allies with the Skyloft forces, but briefly retreats after defeat, noting he can Ganondorf's presence within her. After Cia's forces defeat the Imprisoned, Ghirahim offers himself to Cia. After causing the Skyloft Force's retreat, Fi waits for a hero to aid her.
In the first mainline Skyword Sword scenario of Legend Mode, Ghirahim acts as the mini-boss of the scenario, leading the enemy forces with Volga. As Fi attempts to deliver the soup to Levias, Ghirahim attempts to intercept her, only to be soundly defeated by Link. He makes an angry retreat, but begins to posses the Skyloft Captains for later use.
In the second scenario, Link and Fi leads the fight against Ghirahim to seal the Gate of Souls. Link attempts to enter the ruins, only to find it's locked. This allows Ghirahim to begin his plan; he sends out Turncoat Soldiers, which Fi recognizes as evil in spirit. Upon their reveal and subsequent retreat, an angry Ghirahim summons the Imprisoned, which Link soundly defeats. Fully enraged, Ghirahim opens all the temple's doors, allowing Link to come to him, but being defeated at the hands of the Hyrulian, and failing to protect the Gate of Souls.
Character Information[]
Development[]
An interview with Game Informer reveals that Ghirahim was originally intended to be a non-controllable character until fans expressed a strong interest in playing as him.
Personality[]
Elegant and prideful, Ghirahim is passionately in love with himself. His true ruthlessness and cruelty is unleashed when and if he is provoked to anger. In contrast to Fi, Ghirahim is flamboyant, emotional and expressive. Many of his attacks are accompanied by sinister laughter.
At the end of Chapter 14 ("Ganondorf's Return"), Ghirahim comments that Ganondorf reminds him of his master, Demise. This references Ganondorf being said to be the reincarnation of Demise at the end of Skyward Sword.
Quotes[]
- See also: Ghirahim/Quotes
Gameplay[]
| Keys: | Y Normal Attack ▲ | X Charge Attack ▲ | A Special Technique ▲ | B Evade |
- Standard Attacks
- X: Ghirahim throws forward a dagger. If the dagger hits an enemy, Ghirahim and the enemy will be connected with a red thread, which lasts for approximately ten seconds, and can be refreshed at any time. If no enemy is targeted, then the dagger will hit the first enemy it connects with. Ghirahim's damage output against the connected enemy is boosted while the red thread is in effect. While the thread is active, Ghirahim's charge attacks will receive different effects.
- Y, X, X, X: Ghirahim does an uppercut slash with his sword that launches enemies upward. He then performs a flurry of quick jabs at the airborne enemies while duel-wielding two swords. He then does a silly dance that summons a magical floor on the ground which freezes enemies in it, which then rises up carrying enemies with it to slam them into a magic ceiling above.
- Y, Y, X,X, X: Ghirahim surrounds himself with a circular barrier, which then explodes. He then surrounds himself with knives which fly towards him at the center while he teleports away. He reappears in the air in his Demise sword form and then flies into the ground with a sword-plant.
- Y, Y, Y, X, X, X: Ghirahim raises his sword skyward and charges it with energy, and then does a horizontal slash which sends a fiery energy wave forward like a discus. He then summons dark swords to erupt out of the ground all around him. He finishes by snapping his fingers 3 times while striking a pose with each snap, with each snap summoning 2 Bokoblin minions. The Bokoblins then run in the direction they're facing while slashing away wildly. Ghirahim can be pivoted during the snapping to aim the Bokoblins and have them run in different directions.
- Y, Y, Y, Y, X: Ghirahim rises into the air riding on a magic platform. His hands glow with dark energy and he slams down onto the ground with his fists, creating a dark shockwave of energy.
- Y, Y, Y, Y, Y: Ghirahim swings his sword to the right,summons 5 knives that he throws forward in a horizontal line, throws 5 more knives in an arc shape, then teleports right and left in a zig-zag motion while slashing at enemies. He does several cross slashes forward, and finishes with an overhead smash from his broadsword which creates an explosion of dark energy.
- A: Ghirahim traps enemies in a semi-spherical barrier in front of him.Swords are summoned and proceed to bombard the enemies inside the barrier with a flurry of strikes. He finishes by having a large sword come down crashing on them, knocking enemies away.
- Focus Spirit + A: Ghirahim summons his broadsword and slashes enemies repeatedly before rising in the air and transforming into his sword form to strike the ground.
- Focus Spirit Finisher: Ghirahim licks his lips before blasting enemies away with a shockwave of dark energy.
- Weak Point Smash: Ghirahim summons his broadsword and teleports away before reappearing in mid-air to deliver a downward smash to enemies.
- Red Thread Attacks
- These attacks will remain mostly the same as the normal moveset, albeit with an added effect. Only the added effects will get listed here.
- X: Ghirahim summons several knives that fly toward and home in on the connected enemy, dealing minor damage.
- Y, X, X, X: During the upward slash, a large black sword erupts from the ground underneath the linked target, dealing great damage while sending the enemy flying towards Ghirahim. He then finishes his attack like normal.
- Y, Y, X, X, X: At the part where Ghirahim transforms into his sword form, columns of light will surround the linked target and bind it, stunning them and rendering them immobile.
- Y, Y, Y, X, X, X: At the part where the dark swords erupt out of the ground around Ghirahim, another large flaming shadow sword will erupt from the ground underneath the linked target, dealing great damage and knockback.
Fighting Style[]
Ghirahim is a tricky character to use. He can morph his body at will to attack with a variety of blade sizes and sword styles. He changes his position using teleportation and may bombard his foe with magic spells or summon demons to assist him. His heavy attack allow him to focus his attacks on a singular enemy, so players must learn to juggle between crowd controls and duels.
- Homages
- When Ghirahim activates Focus Spirit, he transforms into the form he used in his final battle with Link in The Legend of Zelda: Skyward Sword.
- The thread used in his Strong Attack is a reference to a line spoken by Ghirahim to Link in their second encounter, "You and I, we're bound by a thread of fate".
Weapons[]
|
.png "Demon Blade - Other Swords (HW).png (143 KB)") Concept art of Ghirahim's conjured blades ") Ghirahim's sword transformation | |||||||||||||||||||||||||||||||||||||||||||||||||||||||||||||||||||||
Badge Materials[]
- See also: Hyrule Warriors/Badges
| Badge | Materials | ||
|---|---|---|---|
| Kokiri Sword I | Soldier's Uniform (1x) | ||
| Kokiri Sword II | Lizalfos Scale (1x) | Soldier's Uniform (1x) | |
| Kokiri Sword III | ReDead Bandage (1x) | Soldier's Uniform (1x) | |
| Kokiri Sword IV | Hylian Captain Gauntlet (1x) | Soldier's Uniform (1x) | |
| Stamina Fruit I | Moblin Flank (1x) | ||
| Stamina Fruit II | Fi's Heels (1x) | Volga's Helmet (1x) | Moblin Flank (3x) |
| Stamina Fruit III | Fi's Crystal (1x) | Volga's Helmet (2x) | Moblin Spear (2x) |
| Digging Mitts I | Moblin Flank (3x) | ||
| Digging Mitts II | Fi's Heels (1x) | Volga's Helmet (1x) | Moblin Flank (3x) |
| Digging Mitts III | Fi's Crystal (1x) | Volga's Helmet (2x) | Moblin Spear (2x) |
| Din's Fire I | Dinolfos Fang (1x) | Soldier's Uniform (1x) | |
| Din's Fire II | Goron Armor Breastplate (1x) | Soldier's Uniform (1x) | |
| Din's Fire III | Fi's Crystal (1x) | Volga's Helmet (2x) | Moblin Spear (2x) |
| Hover Boots I | Moblin Flank (2x) | ||
| Hover Boots II | Fi's Heels (1x) | Volga's Helmet (1x) | Moblin Flank (3x) |
| Hover Boots III | Fi's Crystal (1x) | Volga's Helmet (2x) | Moblin Spear (2x) |
| Fierce Deity's Mask I | Lizalfos Scale (1x) | Soldier's Uniform (1x) | |
| Fierce Deity's Mask II | Fi's Crystal (1x) | Volga's Helmet (2x) | Moblin Spear (2x) |
| Badge | Materials | ||
|---|---|---|---|
| Empty Bottle I | Metal Plate (1x) | ||
| Empty Bottle II | Hylian Captain Gauntlet (1x) | Metal Plate (1x) | |
| Empty Bottle III | Volga's Dragon Spear (1x) | Fi's Heels (2x) | Moblin Spear (2x) |
| Hornet Larvae I | Moblin Flank (1x) | ||
| Hornet Larvae II | Fi's Heels (1x) | Volga's Helmet (1x) | Moblin Flank (3x) |
| Hornet Larvae III | Volga's Dragon Spear (1x) | Fi's Heels (2x) | Moblin Spear (2x) |
| Nayru's Love I | Moblin Flank (3x) | ||
| Nayru's Love II | Fi's Heels (1x) | Volga's Helmet (1x) | Moblin Flank (3x) |
| Nayru's Love III | Volga's Dragon Spear (1x) | Fi's Heels (2x) | Moblin Spear (2x) |
| Goron Tunic I | Moblin Flank (2x) | ||
| Goron Tunic II | Fi's Heels (1x) | Volga's Helmet (1x) | Moblin Flank (3x) |
| Goron Tunic III | Volga's Dragon Spear (1x) | Fi's Heels (2x) | Moblin Spear (2x) |
| Zora Tunic I | Moblin Flank (2x) | ||
| Zora Tunic II | Fi's Heels (1x) | Volga's Helmet (1x) | Moblin Flank (3x) |
| Zora Tunic III | Volga's Dragon Spear (1x) | Fi's Heels (2x) | Moblin Spear (2x) |
| Magic Armor I | Moblin Flank (2x) | ||
| Magic Armor II | Fi's Heels (1x) | Volga's Helmet (1x) | Moblin Flank (3x) |
| Magic Armor III | Volga's Dragon Spear (1x) | Fi's Heels (2x) | Moblin Spear (2x) |
| Sacred Shield I | Moblin Flank (2x) | ||
| Sacred Shield II | Fi's Heels (1x) | Volga's Helmet (1x) | Moblin Flank (3x) |
| Sacred Shield III | Volga's Dragon Spear (1x) | Fi's Heels (2x) | Moblin Spear (2x) |
| Mirror Shield I | Moblin Flank (2x) | ||
| Mirror Shield II | Fi's Heels (1x) | Volga's Helmet (1x) | Moblin Flank (3x) |
| Mirror Shield III | Volga's Dragon Spear (1x) | Fi's Heels (2x) | Moblin Spear (2x) |
| Badge | Materials | ||
|---|---|---|---|
| Farore's Wind I | Monster Tooth (1x) | ||
| Farore's Wind II | Fi's Heels (1x) | Volga's Helmet (1x) | Moblin Flank (3x) |
| Farore's Wind III | Fi's Crystal (1x) | Fi's Heels (2x) | Moblin Spear (2x) |
| Goron's Bracelet I | Moblin Flank (2x) | ||
| Goron's Bracelet II | Fi's Crystal (1x) | Fi's Heels (2x) | Moblin Spear (2x) |
| Hawkeye I | Moblin Flank (2x) | ||
| Hawkeye II | Fi's Crystal (1x) | Fi's Heels (2x) | Moblin Spear (2x) |
| Beetle I | Moblin Flank (2x) | ||
| Beetle II | Fi's Crystal (1x) | Fi's Heels (2x) | Moblin Spear (2x) |
| Whip I | Moblin Flank (2x) | ||
| Whip II | Fi's Crystal (1x) | Fi's Heels (2x) | Moblin Spear (2x) |
Gallery[]
")
")
")
.png "Ghirahim Alternate Costume (HWL).png (1.55 MB)")
.png "Ghirahim Alternate Costume 2 (HWL).png (22 KB)")
.png "Ghirahim Alternate Costume 3 (HWL DLC).png (247 KB)")
.png "Ghirahim Alternate Costume 4 (HWL DLC).png (21 KB)")
プレイムービー (15 KB)")
External Links[]
| This Hyrule Warriors related article is a stub. You can help the wiki by expanding it. |
| Hyrule Warriors • Legends • Definitive Edition • Hyrule Warriors: Age of Calamity |
| Characters |
| Hyrule Warriors |
| Link • Impa • Sheik • Lana • Princess Zelda • Ganondorf • Darunia • Princess Ruto • Agitha • Midna • Zant • Fi • Ghirahim • Cia • Volga • Wizzro • Twili Midna • Young Link • Tingle • Ganon • Cucco |
| Hyrule Warriors Legends |
| Linkle • Skull Kid • Toon Link • Tetra • King Daphnes • Medli • Marin • Toon Zelda • Ravio • Yuga |
| Hyrule Warriors Age of Calamity |
| Urbosa • Mipha • Daruk • Revali • Hestu • Sidon • Yunobo • Teba • Riju • Maz Koshia • Master Kohga • King Rhoam • Great Fairies • Terrako |
| EX: Pulse of the Ancients |
| Battle-Tested Guardian |
| EX: Guardian of Remembrance |
| Sooga • Purah & Robbie |
| Bosses |
| King Dodongo • Gohma • Manhandla • Argorok • The Imprisoned • Ganon • Great Fairy Helmaroc King • Phantom Ganon • Astor |
| Locations |
| Hyrule Warriors |
| Hyrule Field • Eldin Caves • Faron Woods • Valley of Seers • Death Mountain • Lake Hylia • Twilight Field • Palace of Twilight • Skyloft • Sealed Grounds • Temple of the Sacred Sword • Temple of Souls • Gerudo Desert • Ganon's Tower |
| Hyrule Warriors Legends |
| Forsaken Fortress • Wind and Earth Temples |
| Hyrule Warriors Age of Calamity |
| Breach of Demise • Zora's Domain • Tabantha Frontier • Gerudo Town • Hyrule Outpost • Great Hyrule Forest • Cenel Peak • Akkala Citadel • Yiga Clan Hideout • Damel Forest • Hyrule Castle • Lanayru Wetlands • Hyrule Ridge • Fort Hateno • Great Plateau • Hyrule Castle Town |
| EX: Guardian of Remembrance |
| Goponga Village • Kakariko Village • Lanayru Road • Mount Daphnes |
| Features |
| Items • Adventure Mode • Unit Types • Potion Mixtures • Badges • Materials • Weapon Skills • My Fairy |