| Ganondorf | |
| Race: | |
| Title(s): | The Demon King (Ganondorf)
The Dark Beast (Ganon) |
| Weapon(s): | Ganondorf
Great sword Trident (Legends) Ganon Bare hands, boss abilities, and Trident |
| Weakness: | Light
|
| Useful Weapon Skill: | VS Legend (Ganondorf)
VS Ganon (Ganon) |
| Useful Combat Items: | All (As Ganon)
|
| Voice Actors: | Taiten Kusunoki
|
| First Appearance: | Hyrule Warriors |
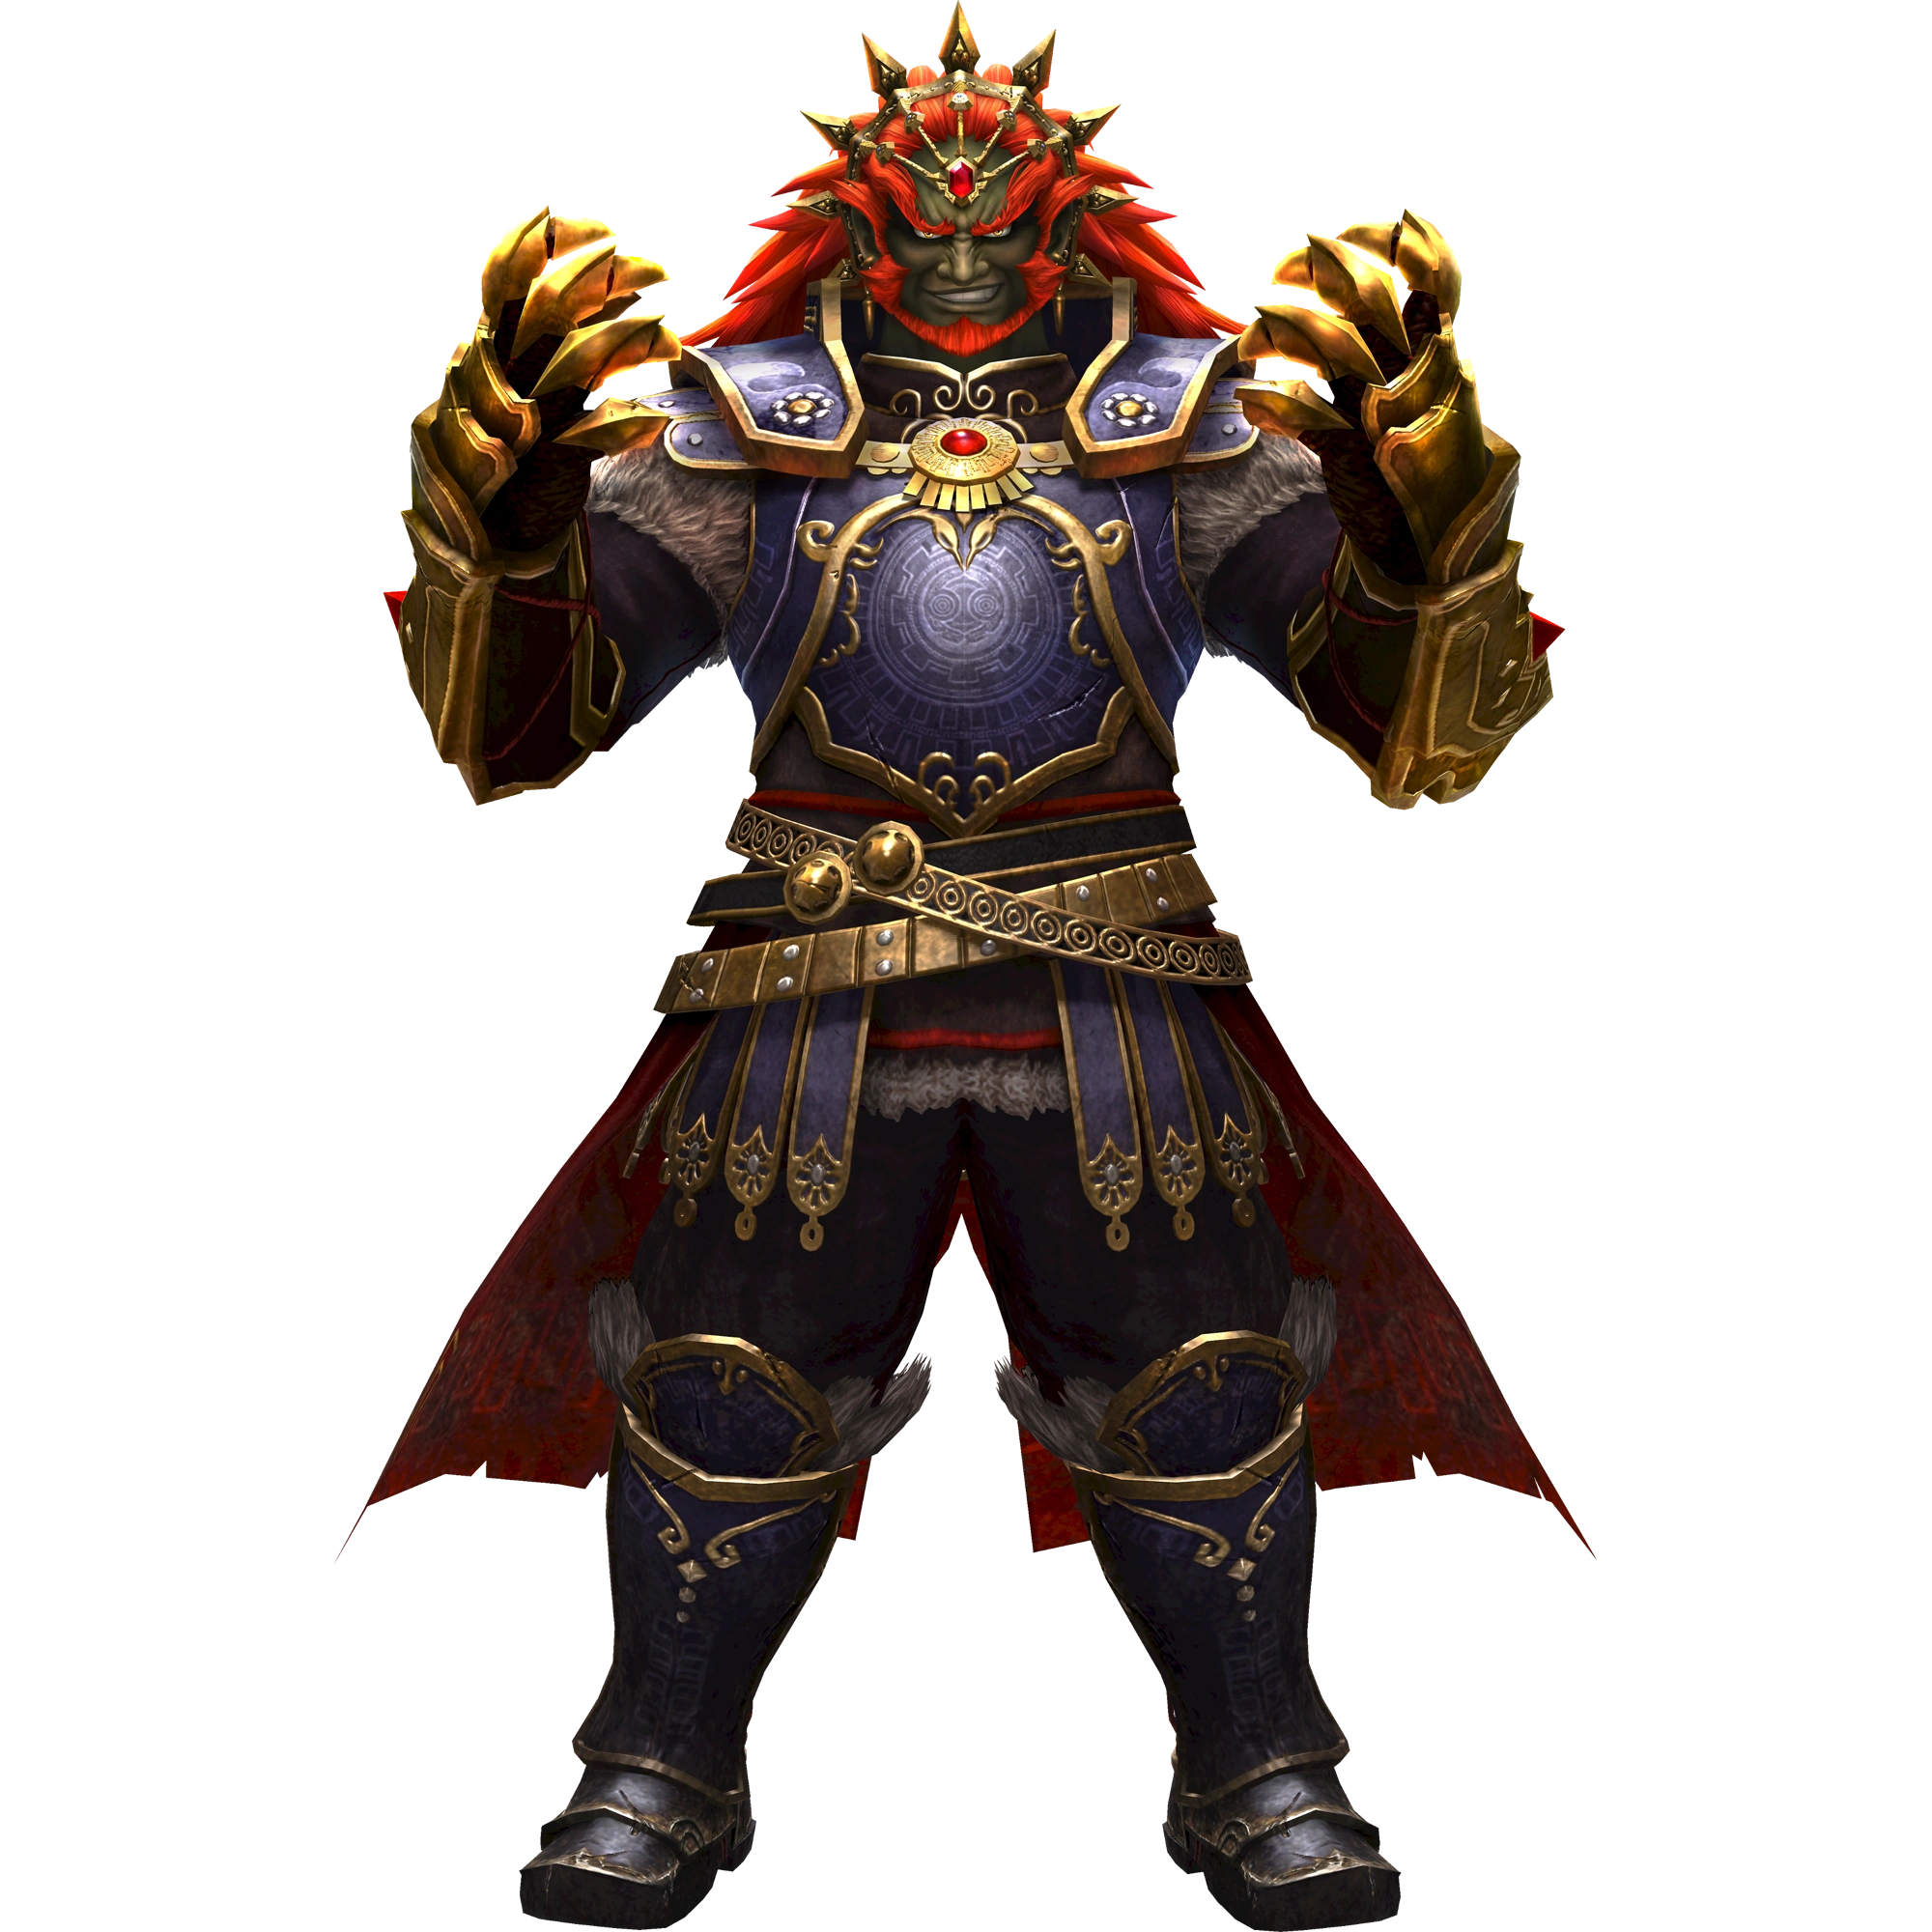

Ganondorf (ガノンドロフ, Ganondorofu) is a playable character and the true main antagonist in Hyrule Warriors and the major antagonist of the Legend of Zelda series.
His final form as Ganon (ガノン) is playable in one of the two exclusive modes of the game's Boss Pack.
Role in Game
Like most of his other Zelda incarnations, Ganondorf's ambition is to assemble the Triforce for himself and conquer Hyrule. In the Hyrule Warriors continuity, Ganondorf was originally sealed by a previous incarnation of the legendary hero of Hyrule. His soul was split into four fragments and scattered across time and space, with the hero's sword acting as the seal on the one fragment that remained in their world.
However, Ganondorf was still able to sense events around him, and thus came to influence Cia, the watcher of the dimensions. Using her unrequited love for the legendary hero's incarnations and her jealousy towards the woman whose destiny was linked to his, Ganondorf corrupted Cia, expelling all goodness from her heart. The Demon King promptly manipulated his new puppet into assembling the Triforce and opening the Gate of Souls, freeing three fragments of his spirit from their prisons in three different timelines.
With three-fourths of his soul reunited, Ganondorf was able to regain physical form. He promptly betrayed Cia and attempted to take the Triforce from her, intending to use it to free the final spirit fragment and restore his full power. However, Cia managed to fight back, drawing upon the Triforce of Power to seal Ganondorf away between the dimensions. Doing so, however, forced the Dark Sorceress to return the other pieces of the Triforce to their rightful bearers, weakening her even as the Hyrulean Army closed in on her base.
Due to being sealed between dimensions, Ganondorf was able to attack both of his enemies when the Hyrulean Army attacked the Temple of Souls. Despite bringing a substantial army to attack the battling forces after they had weakened each other, the Demon King was unable to overcome his enemies due to not being at full strength. However, he remained confident that his wrath would soon fall upon Hyrule, especially since Link had been forced to weaken the final seal on his soul by drawing the Master Sword to use against Cia's army.
Ganondorf's confidence was soon justified - shortly after Cia's final defeat, the final fragment of his soul was released from the weakening seal. With his full strength restored, Ganondorf recruits Zant and Ghirahim as his followers before launching an assault on Gerudo Desert, raising an army of monsters by defeating their commanders in battle. With his newfound might, the Demon King travelled to the Valley of Souls, where he reclaimed the Triforce of Power from Lana. He then attacked Hyrule Castle, drawing out and defeating Link and Zelda to take their pieces of the Triforce.
With the mystical artifact's complete power at his disposal, Ganondorf summoned unending hordes of monsters to subjugate Hyrule before retiring to Hyrule Castle itself. His dark power corrupted the surroundings into a terrifying stronghold as he readied a ritual to empower himself even further. This would prove to be his downfall, however - with the Demon King occupied, Zelda led her remaining forces to Gerudo Desert, defeating Ganondorf's lieutenants and cutting off the flow of reinforcements to his new base.
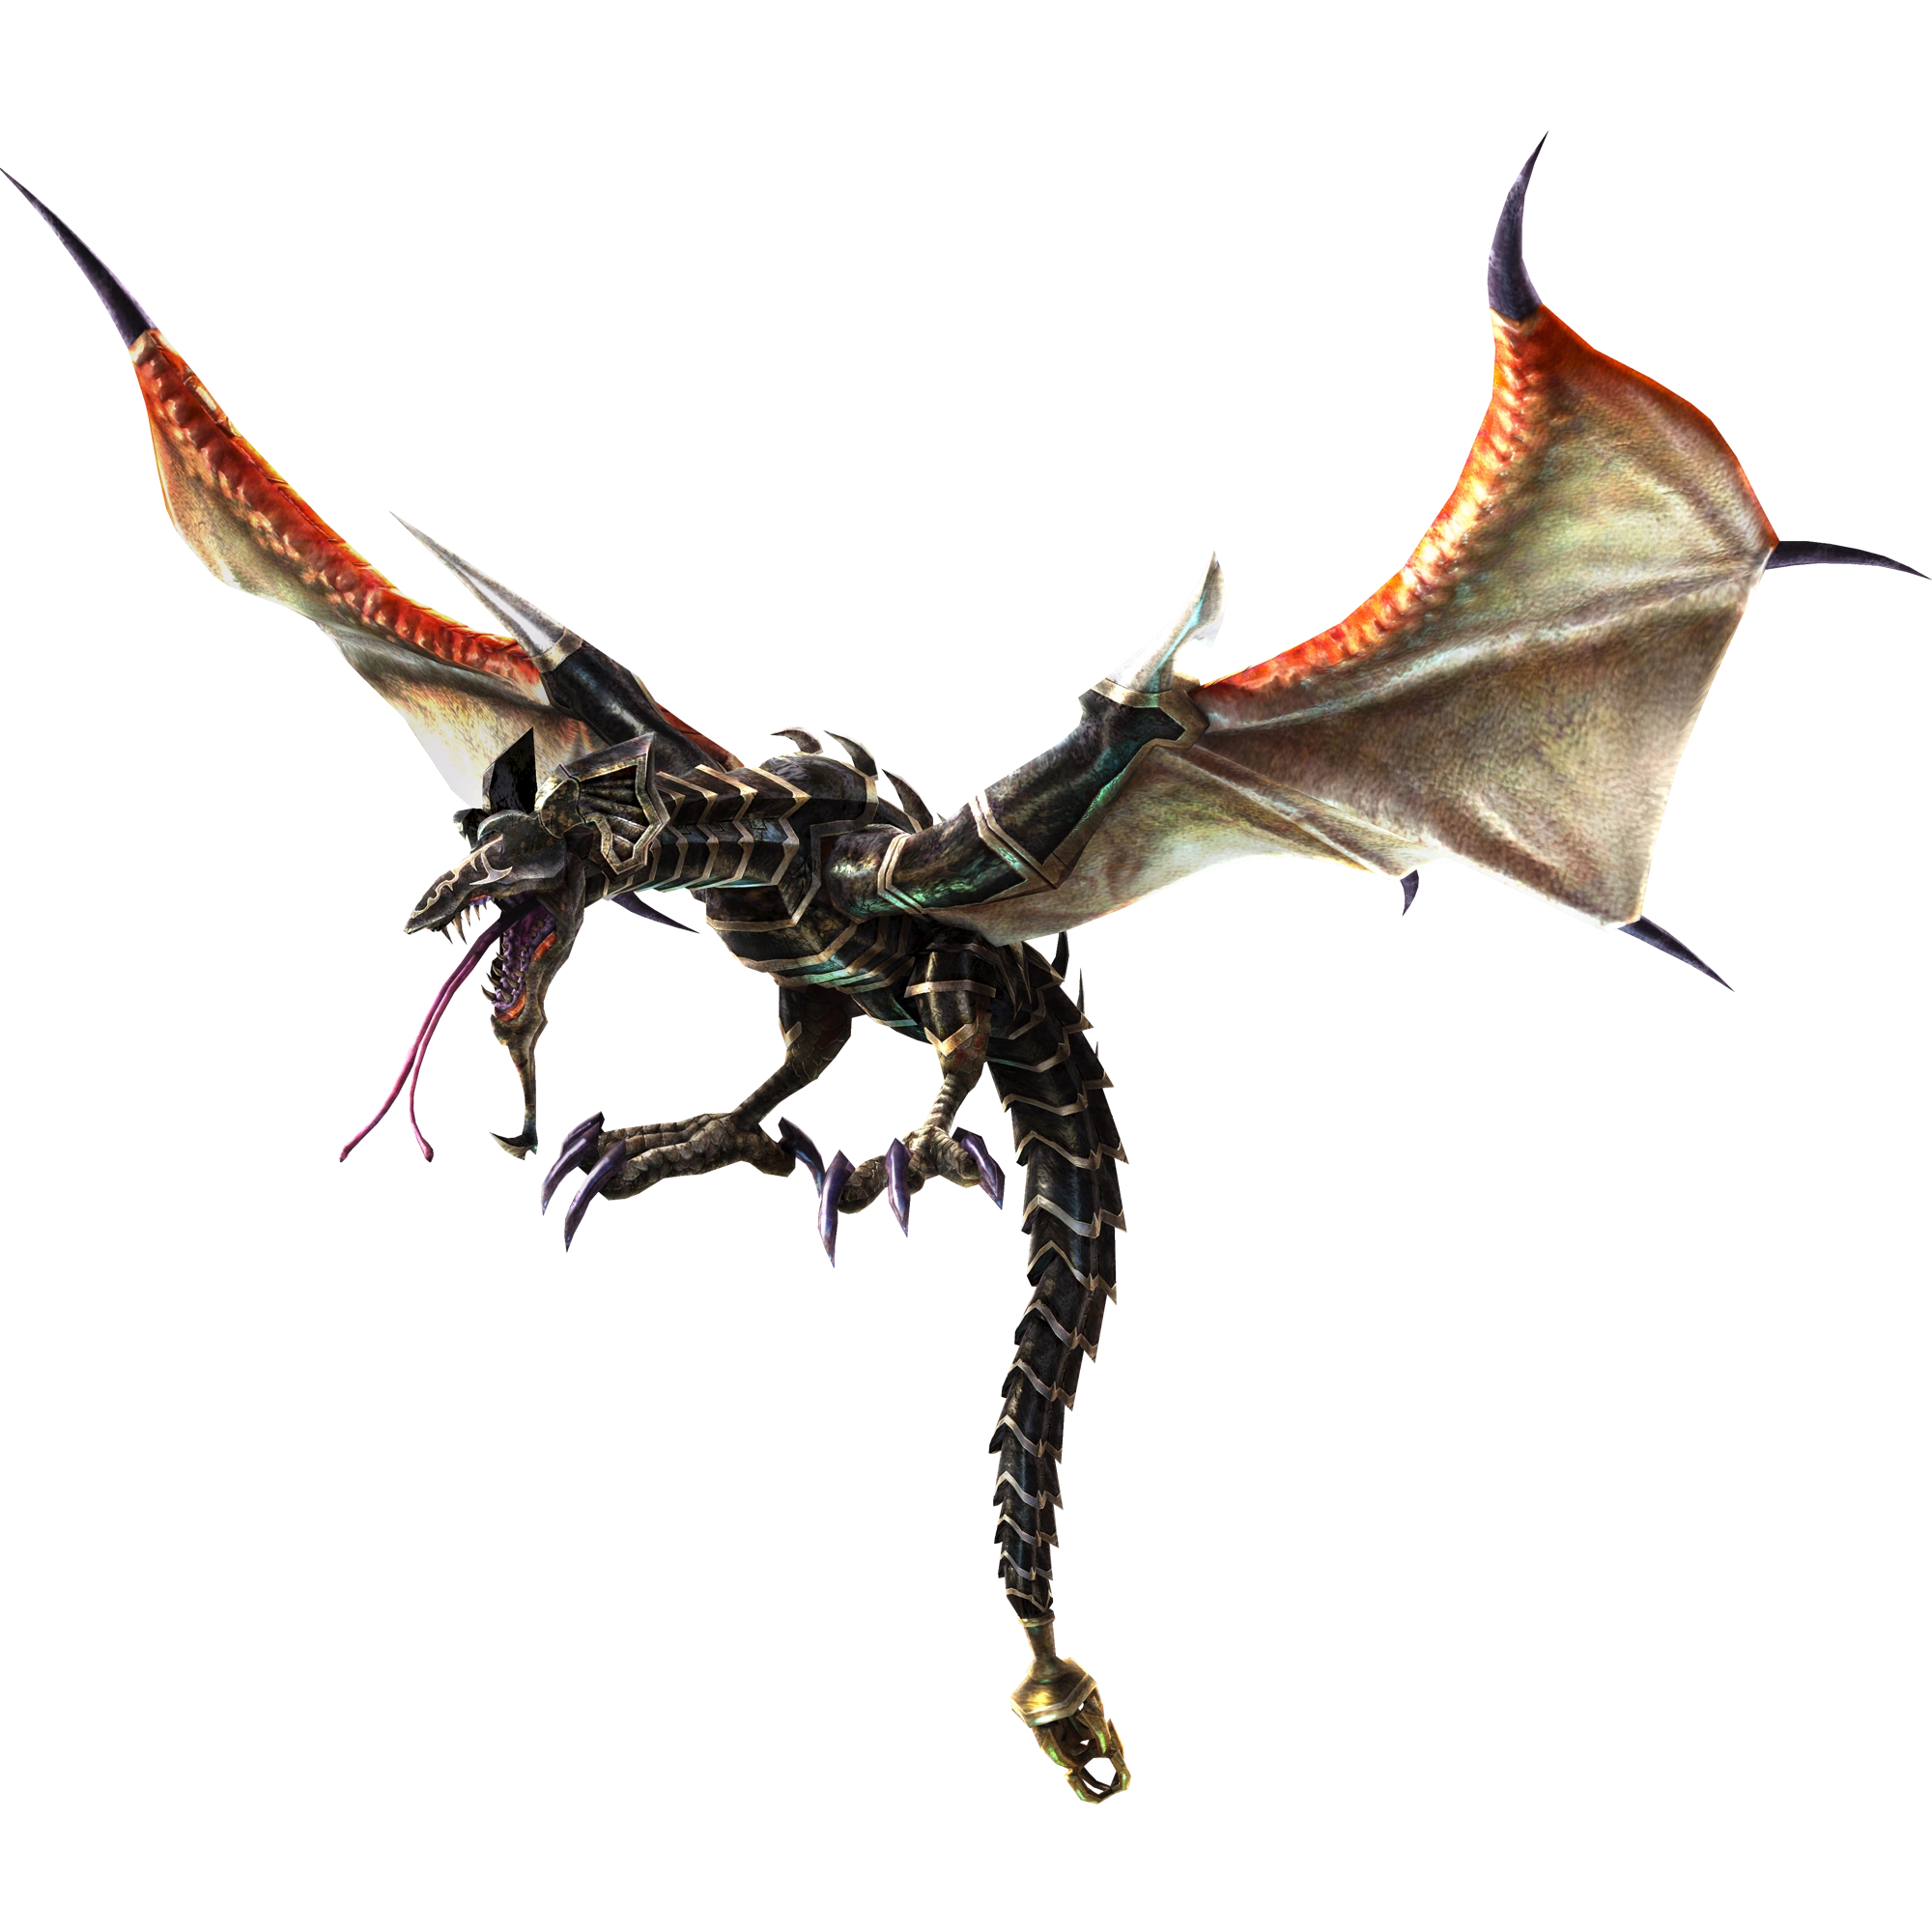
With Ganondorf's position weakened, the Hyrulean Army and its allies from across time and space attacked the former Hyrule Castle to stop the Demon King once and for all. Ganondorf initially left the battle to his minions as he continued the ritual of empowerment, unleashing his full power just as his enemies breached his tower. With his enhanced might, he began attacking the Hyrulean Army directly, but they recaptured Hyrule Castle to cut off his power boost before defeating him. In a final attempt to turn the tide, Ganondorf used the Triforce to become the monstrous Ganon, but Zelda granted the Light Arrows to her allies, who used their life force to power up the legendary weapons and defeat the Demon Beast.
Character Information
Personality
Ganondorf is best characterized by his greed, lust for power, and sadism. Cold and manipulative, he has no qualms in using others to fulfill his own desires.
Quotes
- See also: Ganondorf/Quotes
Gameplay
| Keys: | Y Normal Attack ▲ | X Charge Attack ▲ | A Special Technique ▲ | B Evade |
- X: Ganondorf rises off the ground and then pounds down hard into the ground hard enough to damage enemies. If his meter is full, this allows for a larger area of effect.
- Y, X (rapid): Ganondorf forcefully plants his swords in the ground, which pops enemies upwards. He then makes repeated diagonal slashes sending out shockwaves at the airborne enemies, then finishes by sending swing both his blades sending out an x-shaped slash. X can be tapped for more hits.
- Y, Y, X: Ganondorf points his blade skyward, while a large ball of dark energy forms at the tip of the blade. He then slings it forward, with the orb detonating after traveling a set distance forward.
- Y, Y, Y, X: Ganondorf rapidly swings both swords in a flurry around him, enclosing him in a sphere of slashes. He then explodes it outward, knocking back enemies.
- Y, Y, Y, Y, X: Ganondorf raises both hands up to create a large orb of dark energy. He then quickly lowers it down in front of him before punching it and detonating it, sending out smaller orbs forward in an arc.
- Y, Y, Y, Y, Y, X: Ganondorf summons a large arm of dark energy and performs a horizontal swipe.
- Y, Y, Y, Y, Y, Y, Y: Ganondorf swings his swords horizontally left and right, then slams them both down into the ground. He then releases a spherical pulse of dark energy from him, and then swings his sword in front of him. He swings his swords three times in front of him before delivering a final blow infused with dark energy.
- A: Ganondorf raises his sword into the air and rains down lightning bolts around him, infusing his sword with lightning energy. He then swings his sword, firing the lightning energy at enemies.
- Focus Spirit + A: Ganondorf summons a black shadow in the shape of his demon form, Ganon, to attack nearby enemies.
- Focus Spirit Finisher: Ganondorf hovers into the air and gathers dark energy around his fists, before slamming his fists down hard onto the ground, knocking back enemies.
- Weak Point Smash: Ganondorf envelopes his right arm in darkness, forming a large shadow claw that slashs at enemies.
- Fighting Style
Ganondorf's attacks are a mix of powerful sword slashes and magic attacks. He is rather slow, but his attacks have a large range. Most of his strong attack combos can be charged up, and doing so fills up a special gauge. Said gauge is then used to deliver a powerful move when the player presses the strong attack button.
- Use of two swords as he does in Wind Waker.
- C5 references the Warlock Punch from the Smash Bros series.
Added in Legends, can only be used in the Wii U version if registered.
- X: Ganondorf throws his trident forward, then dashes to catch it.
- Y, X: Ganondorf jumps into the air swinging his trident.
- Y, Y, X: Ganondorf rushes forward and swipes a dark arm.
- Y, Y, Y, X: Ganondorf throws his trident and it orbits around him in a boomerang fashion, then returns to him after one orbit.
- Y, Y, Y, Y, X: Ganondorf jumps into the air doing an uppercut using a shadow arm.
- Y, Y, Y, Y, Y, X: Ganondorf throws his trident forward like a javelin, then dives after it while punching the ground, erupting strong dark energy.
- A: Ganondorf throws his trident forward into the ground, then flies into the air and shocks lightning around it.
- Focus Spirit + A: Using a shadow arm, Ganondorf punches the ground and shoots a ball of dark energy forward.
- Focus Spirit Finisher: Ganondorf glows the triforce on his left hand then erupts a light explosion.
- Weak Point Smash: Ganondorf slashes the opponent with the trident, then does a lightning slash, then jumps into the air and slashes the trident, erupting lightning.
DLC only.
- Y, Y, Y: Performs a series of claw swipes, and then smashes his fists into the ground.
- X, X: Creates arcing red lightning along the ground, damaging enemies directly in front of him.
- Up on the D-Pad: Charge forward ramming his entire body into enemies.
- LZ: Spins around, knocking back all enemies surrounding him.
- A: Charges fist with dark energy, then smashes it into the ground damaging all enemies around him.
- Focus Spirit + A: Pulls out his Trident, and flings it forward causing it to spin around and damaging all enemies directly in front of him self.
- Focus Spirit Finisher: Ganon gathers dark energy around his fists and rises into the air before slamming the ground.
- Weak Point Smash: Creates a massive orb of dark energy, slams it onto his opponent, then performs a powerful right hook punch into the orb of energy causing it to explode.
- Weak Point Smash (vs Boss): Jumps up into the air, slashing the enemies with his trident while ascending, then throws it down ward to have the teeth of the trident pierce the boss monsters body.
- Boss Attacks
Unlike most characters who can use items, Ganon is capable of using a boss monsters abilities in battle and are stocked in his inventory as battle items normally are. In order to use them, Ganon must first find a boss monster, then defeat it to absorb it into him self, to use it's ability.
| Icon | Item | Description |
|---|---|---|
 |
Ganon charges up a fire ball in his right hand, then throws it into the enemies before him. Makes Argorok's Weak Point gauge appear when used against it. | |
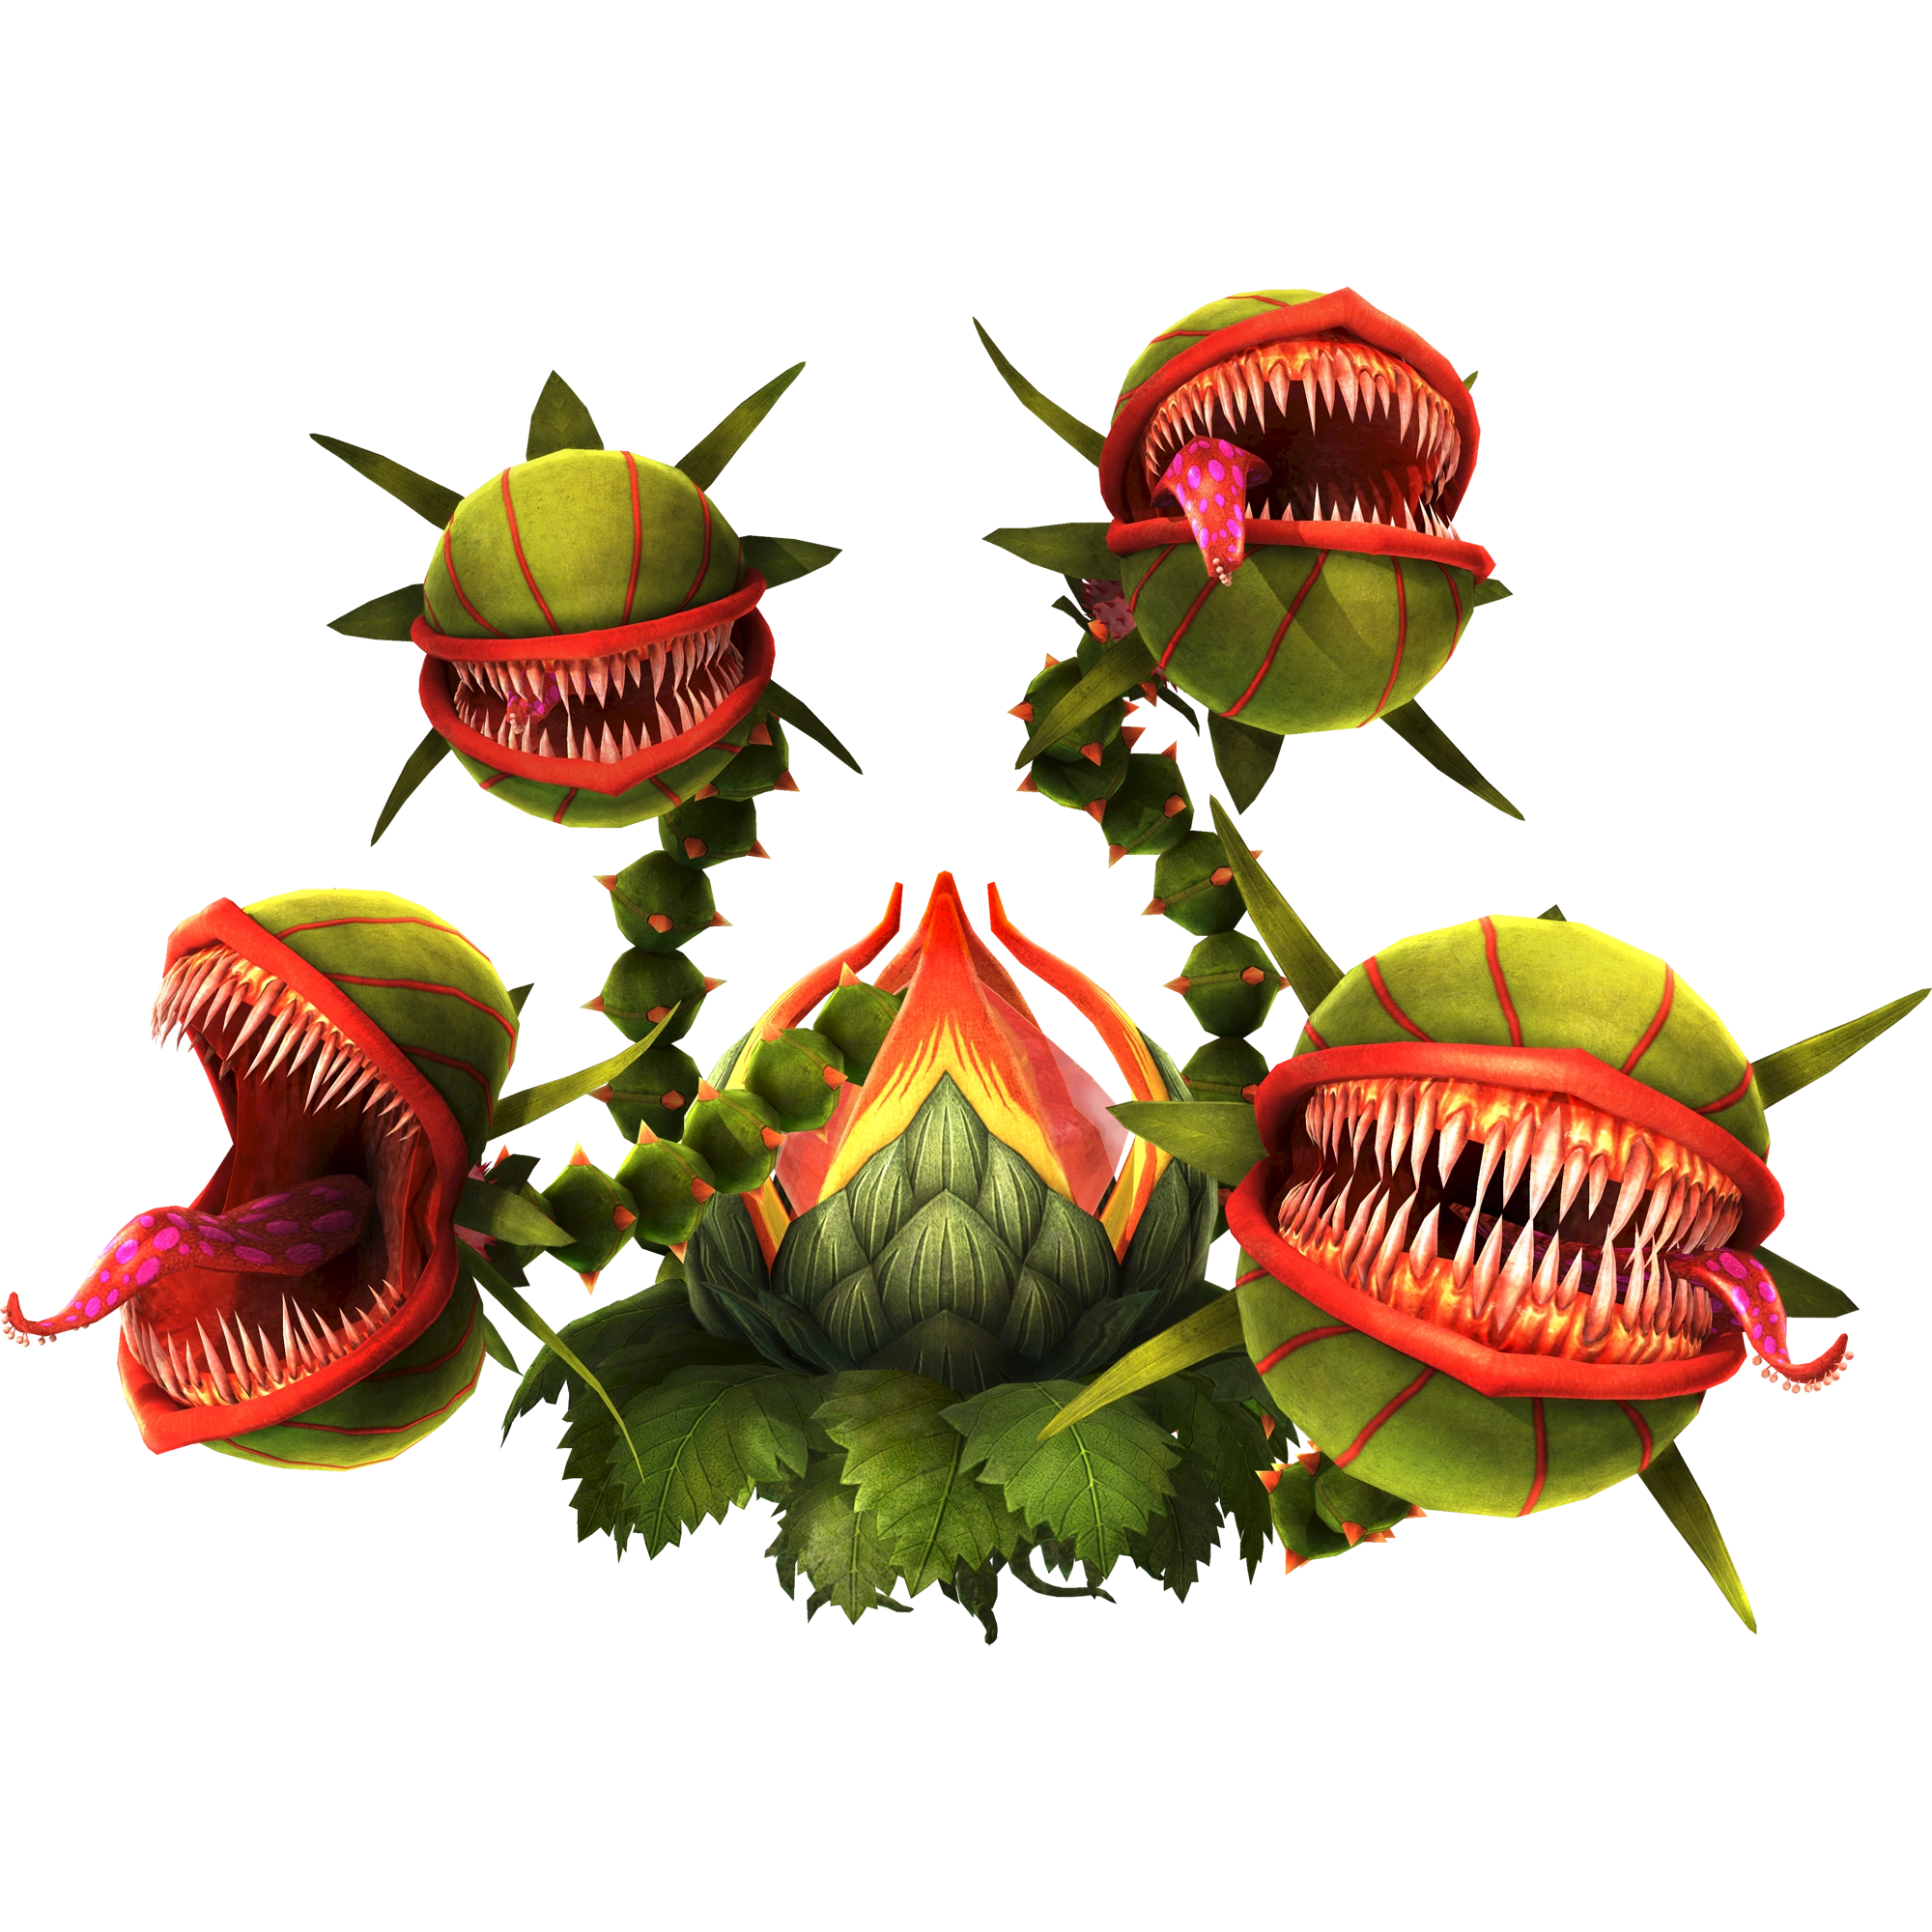 |
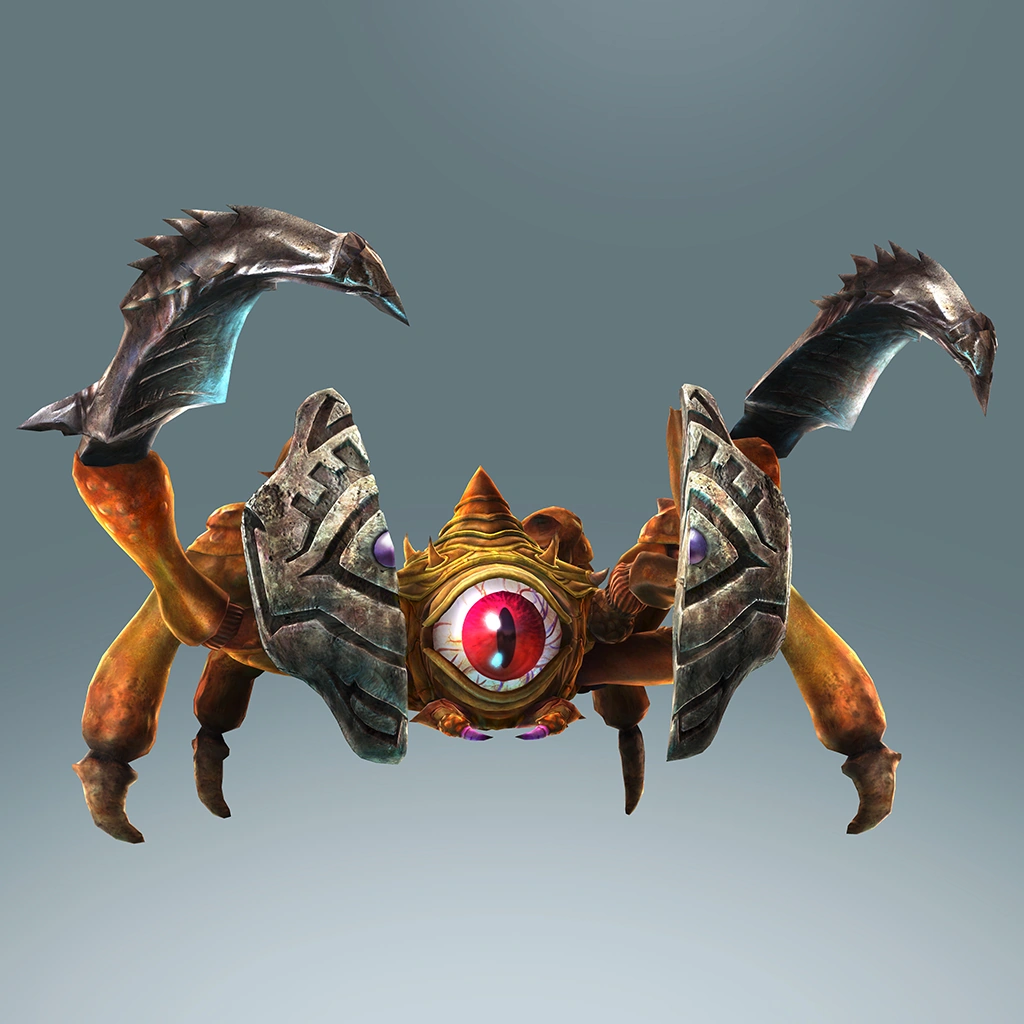
Ganon leans forward, and the two horns jutting from his shoulders split apart and begin to shoot seeds from his shoulders. Makes Makes Gohma's Weak Point gauge appear when used against her. | |
 |
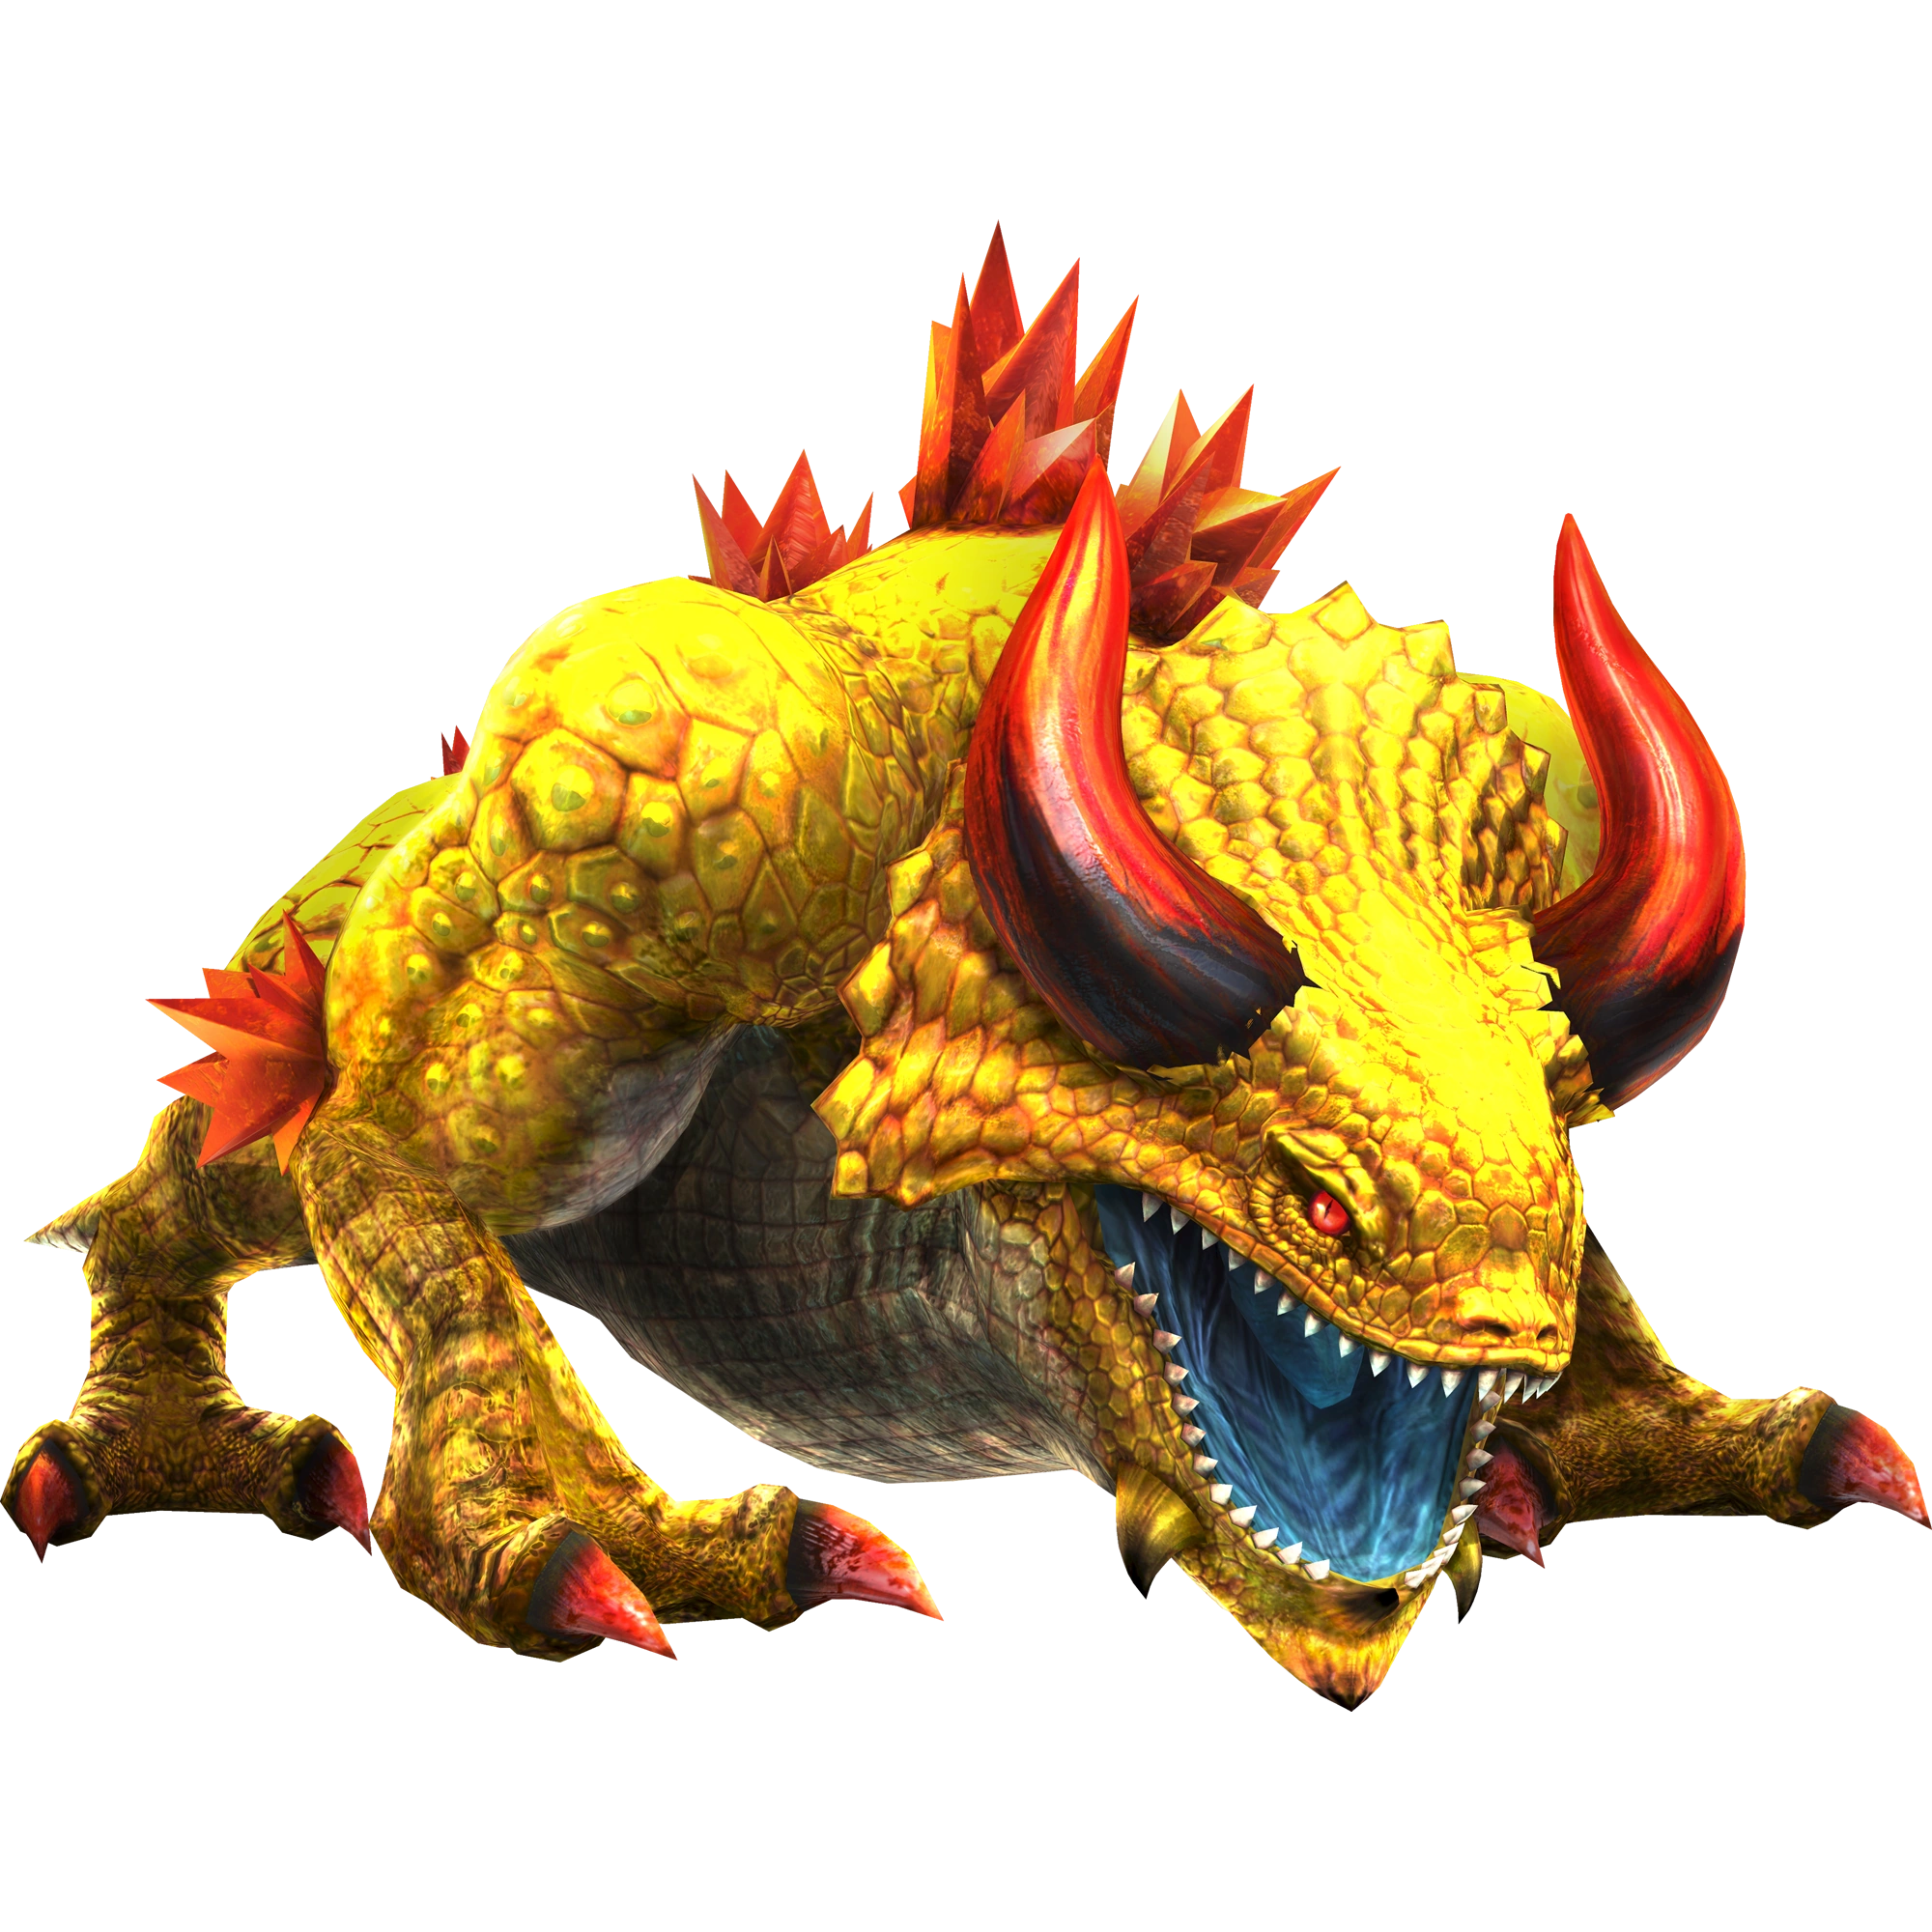
Charges an energy beam in his left arms gauntlet, then fires it causing a massive explosion of energy. Makes Makes King Dodongo's Weak Point gauge appear when used against him. | |
 |
Flies up high into the air, and then breaths a torrent of red hot flames down onto his enemies. Makes Makes Manhandla's Weak Point gauge appear when used against it. |
- Fighting Style
Weapons
| Weapon Information (Element: Darkness) | ||
|---|---|---|
| Description: A set of great swords brimming with dark power. Hold X at the end of a Combo Attack to fill your gauge. Press X to unleash the collected energy in a powerful attack. | ||
| Swords of Despair | Skill Slots: 1~2 | |

|
Base Attack: 80 | 1★ Attack: 88 |
| 2★ Attack: 96 | 3★ Attack: 104 | |
| 4★ Attack: 112 | 5★ Attack: 120 | |
| Swords of Darkness | Skill Slots: 3~4 | |
|
Base Attack: 150 | 1★ Attack: 165 |
| 2★ Attack: 180 | 3★ Attack: 195 | |
| 4★ Attack: 210 | 5★ Attack: 225 | |
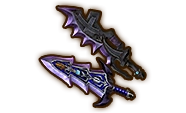
| Swords of Demise | Skill Slots: 6~8 | |
|
Base Attack: 280 | 1★ Attack: 308 |
| 2★ Attack: 336 | 3★ Attack: 364 | |
| 4★ Attack: 392 | 5★ Attack: 420 | |
| 8-Bit Magical Key (HW) | Skill Slots: 6~8 | |
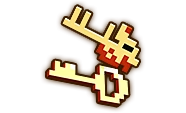
|
Base Attack: 280 | 1★ Attack: 308 |
| 2★ Attack: 336 | 3★ Attack: 364 | |
| 4★ Attack: 392 | 5★ Attack: 420 | |
| Swords of Demise + (Legends) | Skill Slots: 7~8 | |
|
|
Base Attack: 500 | 1★ Attack: 550 |
| 2★ Attack: 600 | 3★ Attack: 650 | |
| 4★ Attack: 700 | 5★ Attack: 750 | |
| Swords of Renewal (Legends) | Skill Slots: 7~8 | |
|
|
Base Attack: 500 | 1★ Attack: 550 |
| 2★ Attack: 600 | 3★ Attack: 650 | |
| 4★ Attack: 700 | 5★ Attack: 750 | |
| Secondary Element: Light | ||
Added in Legends, can only be used in the Wii U version if registered.
| Weapon Information (Element: Lightning) | ||
|---|---|---|
| Description: A trident that holds the terrifying power of lightning. Use a Strong Attack to throw the trident in front of you, and then chase down your prey to move and attack. | ||
| Thief's Trident | Skill Slots: 1~2 | |

|
Base Attack: 80 | 1★ Attack: 88 |
| 2★ Attack: 96 | 3★ Attack: 104 | |
| 4★ Attack: 112 | 5★ Attack: 120 | |
| King of Evil Trident | Skill Slots: 3~4 | |
|
Base Attack: 150 | 1★ Attack: 165 |
| 2★ Attack: 180 | 3★ Attack: 195 | |
| 4★ Attack: 210 | 5★ Attack: 225 | |
| Trident of Demise | Skill Slots: 6~8 | |
|
Base Attack: 280 | 1★ Attack: 308 |
| 2★ Attack: 336 | 3★ Attack: 364 | |
| 4★ Attack: 392 | 5★ Attack: 420 | |
| Trident of Demise + (Legends) | Skill Slots: 7~8 | |
|
|
Base Attack: 500 | 1★ Attack: 550 |
| 2★ Attack: 600 | 3★ Attack: 650 | |
| 4★ Attack: 700 | 5★ Attack: 750 | |
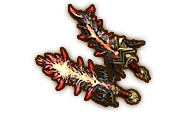
| Burning Trident (Legends) | Skill Slots: 7~8 | |
|
|
Base Attack: 500 | 1★ Attack: 550 |
| 2★ Attack: 600 | 3★ Attack: 650 | |
| 4★ Attack: 700 | 5★ Attack: 750 | |
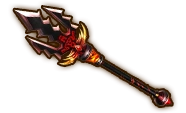
| Secondary Element: Fire | ||
DLC only.
Badge Materials
- See also: Hyrule Warriors/Badges
| Badge | Materials | ||
|---|---|---|---|
| Kokiri Sword I | Metal Plate (1x) | ||
| Kokiri Sword II | Essence of Icy Big Poe (1x) | Metal Plate (1x) | |
| Kokiri Sword III | Dinolfos Fang (1x) | Metal Plate (1x) | |
| Kokiri Sword IV | Goron Armor Breastplate (1x) | Metal Plate (1x) | |
| Wooden Sword I | |||
| Wooden Sword II | |||
| Wooden Sword III | |||
| Wooden Sword IV | |||
| Stamina Fruit I | Stalmaster Wrist Bone (1x) | ||
| Stamina Fruit II | Zelda's Brooch (1x) | Gohma's Acid (1x) | Stalmaster Wrist Bone (3x) |
| Stamina Fruit III | Zelda's Tiara (1x) | Gohma's Acid (2x) | Stalmaster's Skull (2x) |
| Digging Mitts I | Stalmaster Wrist Bone (3x) | ||
| Digging Mitts II | Zelda's Brooch (1x) | Gohma's Acid (1x) | Stalmaster Wrist Bone (3x) |
| Digging Mitts III | Zelda's Tiara (1x) | Gohma's Acid (2x) | Stalmaster's Skull (2x) |
| Din's Fire I | Dinolfos Fang (1x) | Metal Plate (1x) | |
| Din's Fire II | Goron Armor Breastplate (1x) | Metal Plate (1x) | |
| Din's Fire III | Cia's Staff (1x) | Cia's Bracelet (2x) | Stalmaster's Skull (2x) |
| Hover Boots I | Stalmaster Wrist Bone (2x) | ||
| Hover Boots II | Zelda's Brooch (1x) | Gohma's Acid (1x) | Stalmaster Wrist Bone (3x) |
| Hover Boots III | Zelda's Tiara (1x) | Gohma's Acid (2x) | Stalmaster's Skull (2x) |
| Fierce Deity's Mask I | Hylian Captain Gauntlet | Metal Plate (1x) | |
| Fierce Deity's Mask II | Zelda's Tiara (1x) | Gohma's Acid (2x) | Stalmaster's Skull (2x) |
| Badge | Materials | ||
|---|---|---|---|
| Empty Bottle I | Monster Tooth (1x) | ||
| Empty Bottle II | Goron Armor Breastplate (1x) | Monster Tooth (1x) | |
| Empty Bottle III | Gohma's Lens (1x) | Zelda's Brooch (2x) | Stalmaster's Skull (2x) |
| Hornet Larvae I | Stalmaster Wrist Bone (1x) | ||
| Hornet Larvae II | Zelda's Brooch (1x) | Gohma's Acid (1x) | Stalmaster Wrist Bone (3x) |
| Hornet Larvae III | Gohma's Lens (1x) | Cia's Bracelet (2x) | Stalmaster's Skull (2x) |
| Nayru's Love I | Stalmaster Wrist Bone (3x) | ||
| Nayru's Love II | Zelda's Brooch (1x) | Gohma's Acid (1x) | Stalmaster Wrist Bone (3x) |
| Nayru's Love III | Cia's Staff (1x) | Cia's Bracelet (2x) | Stalmaster's Skull (2x) |
| Goron Tunic I | Stalmaster Wrist Bone (2x) | ||
| Goron Tunic II | Zelda's Brooch (1x) | Gohma's Acid (1x) | Stalmaster Wrist Bone (3x) |
| Goron Tunic III | Gohma's Lens (1x) | Zelda's Brooch (2x) | Stalmaster's Skull (2x) |
| Zora Tunic I | Stalmaster Wrist Bone (2x) | ||
| Zora Tunic II | Zelda's Brooch (1x) | Gohma's Acid (1x) | Stalmaster Wrist Bone (3x) |
| Zora Tunic III | Gohma's Lens (1x) | Zelda's Brooch (2x) | Stalmaster's Skull (2x) |
| Magic Armor I | Stalmaster Wrist Bone (2x) | ||
| Magic Armor II | Zelda's Brooch (1x) | Gohma's Acid (1x) | Stalmaster Wrist Bone (3x) |
| Magic Armor III | Gohma's Lens (1x) | Zelda's Brooch (2x) | Stalmaster's Skull (2x) |
| Sacred Shield I | Stalmaster Wrist Bone (2x) | ||
| Sacred Shield II | Zelda's Brooch (1x) | Gohma's Acid (1x) | Stalmaster Wrist Bone (3x) |
| Sacred Shield III | Gohma's Lens (1x) | Zelda's Brooch (2x) | Stalmaster's Skull (2x) |
| Mirror Shield I | Stalmaster Wrist Bone (2x) | ||
| Mirror Shield II | Zelda's Brooch (1x) | Gohma's Acid (1x) | Stalmaster Wrist Bone (3x) |
| Mirror Shield III | Gohma's Lens (1x) | Zelda's Brooch (2x) | Stalmaster's Skull (2x) |
| Badge | Materials | ||
|---|---|---|---|
| Farore's Wind I | Old Rag (1x) | ||
| Farore's Wind II | Zelda's Brooch (1x) | Gohma's Acid (1x) | Stalmaster Wrist Bone (3x) |
| Farore's Wind III | Cia's Staff (1x) | Cia's Bracelet (2x) | Stalmaster's Skull (2x) |
| Goron's Bracelet I | Stalmaster Wrist Bone (2x) | ||
| Goron's Bracelet II | Zelda's Tiara (1x) | Zelda's Brooch (2x) | Stalmaster's Skull (2x) |
| Hawkeye I | Stalmaster Wrist Bone (2x) | ||
| Hawkeye II | Zelda's Tiara (1x) | Zelda's Brooch (2x) | Stalmaster's Skull (2x) |
| Beetle I | Stalmaster Wrist Bone (2x) | ||
| Beetle II | Zelda's Tiara (1x) | Zelda's Brooch (2x) | Stalmaster's Skull (2x) |
| Whip I | Stalmaster Wrist Bone (2x) | ||
| Whip II | Zelda's Tiara (1x) | Zelda's Brooch (2x) | Stalmaster's Skull (2x) |
Gallery
.png "Ganondorf Concept (HW).png (502 KB)")
.png "Ganon Concept (HW).png (676 KB)")
")
")
")
.png)
")
")
")
.png "Ganondorf Alternate Costume (HWL).png (2.37 MB)")
.png "Ganondorf Costume (HWL DLC).png (2.54 MB)")
.png "Ganondorf Alternate Costume 2 (HWL).png (49 KB)")
.png "Ganondorf Alternate Costume 3 (HWL DLC).png (33 KB)")
.png "Ganondorf Alternate Costume 4 (HWL DLC).png (37 KB)")
プレイムービー (18 KB)")
")
")
Trivia
- When fans saw Ganondorf's design upon his initial reveal, they started a meme associating him with various hair care products such as Dove. In response, Nintendo joins in on the fun by claiming he uses a special hair spray.
External Links
| This Hyrule Warriors related article is a stub. You can help the wiki by expanding it. |
| Hyrule Warriors • Legends • Definitive Edition • Hyrule Warriors: Age of Calamity |
| Characters |
| Hyrule Warriors |
| Link • Impa • Sheik • Lana • Princess Zelda • Ganondorf • Darunia • Princess Ruto • Agitha • Midna • Zant • Fi • Ghirahim • Cia • Volga • Wizzro • Twili Midna • Young Link • Tingle • Ganon • Cucco |
| Hyrule Warriors Legends |
| Linkle • Skull Kid • Toon Link • Tetra • King Daphnes • Medli • Marin • Toon Zelda • Ravio • Yuga |
| Hyrule Warriors Age of Calamity |
| Urbosa • Mipha • Daruk • Revali • Hestu • Sidon • Yunobo • Teba • Riju • Maz Koshia • Master Kohga • King Rhoam • Great Fairies • Terrako |
| EX: Pulse of the Ancients |
| Battle-Tested Guardian |
| EX: Guardian of Remembrance |
| Sooga • Purah & Robbie |
| Bosses |
| King Dodongo • Gohma • Manhandla • Argorok • The Imprisoned • Ganon • Great Fairy Helmaroc King • Phantom Ganon • Astor |
| Locations |
| Hyrule Warriors |
| Hyrule Field • Eldin Caves • Faron Woods • Valley of Seers • Death Mountain • Lake Hylia • Twilight Field • Palace of Twilight • Skyloft • Sealed Grounds • Temple of the Sacred Sword • Temple of Souls • Gerudo Desert • Ganon's Tower |
| Hyrule Warriors Legends |
| Forsaken Fortress • Wind and Earth Temples |
| Hyrule Warriors Age of Calamity |
| Breach of Demise • Zora's Domain • Tabantha Frontier • Gerudo Town • Hyrule Outpost • Great Hyrule Forest • Cenel Peak • Akkala Citadel • Yiga Clan Hideout • Damel Forest • Hyrule Castle • Lanayru Wetlands • Hyrule Ridge • Fort Hateno • Great Plateau • Hyrule Castle Town |
| EX: Guardian of Remembrance |
| Goponga Village • Kakariko Village • Lanayru Road • Mount Daphnes |
| Features |
| Items • Adventure Mode • Unit Types • Potion Mixtures • Badges • Materials • Weapon Skills • My Fairy |